WordPress & WooCommerce
The etracker analytics plugin for WordPress helps you to set up the tracking of your WordPress website with just a few clicks. As soon as the setup is complete, orders in your WooCommerce store are automatically recorded in addition to visits to your site. With the new integrated reporting, you can also see which pages and posts are visited the most directly in the WordPress admin backend.
What does the etracker analytics plugin for WordPress do?
- It offers an easy integration of the etracker analytics tracking code on your WordPress website.
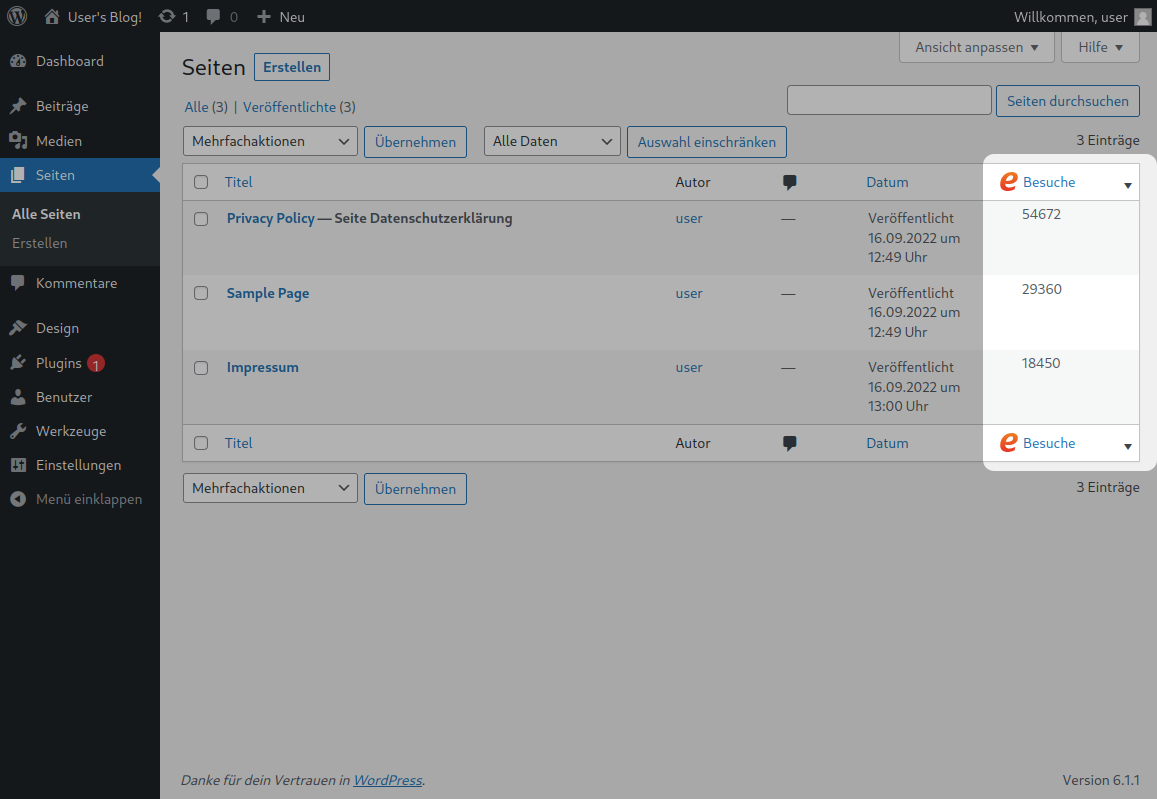
- With integrated reporting, it shows you directly in the WordPress admin backend which pages and posts have been viewed and how often.
How do I install the etracker analytics plugin for WordPress?
- Log in to your WordPress admin backend
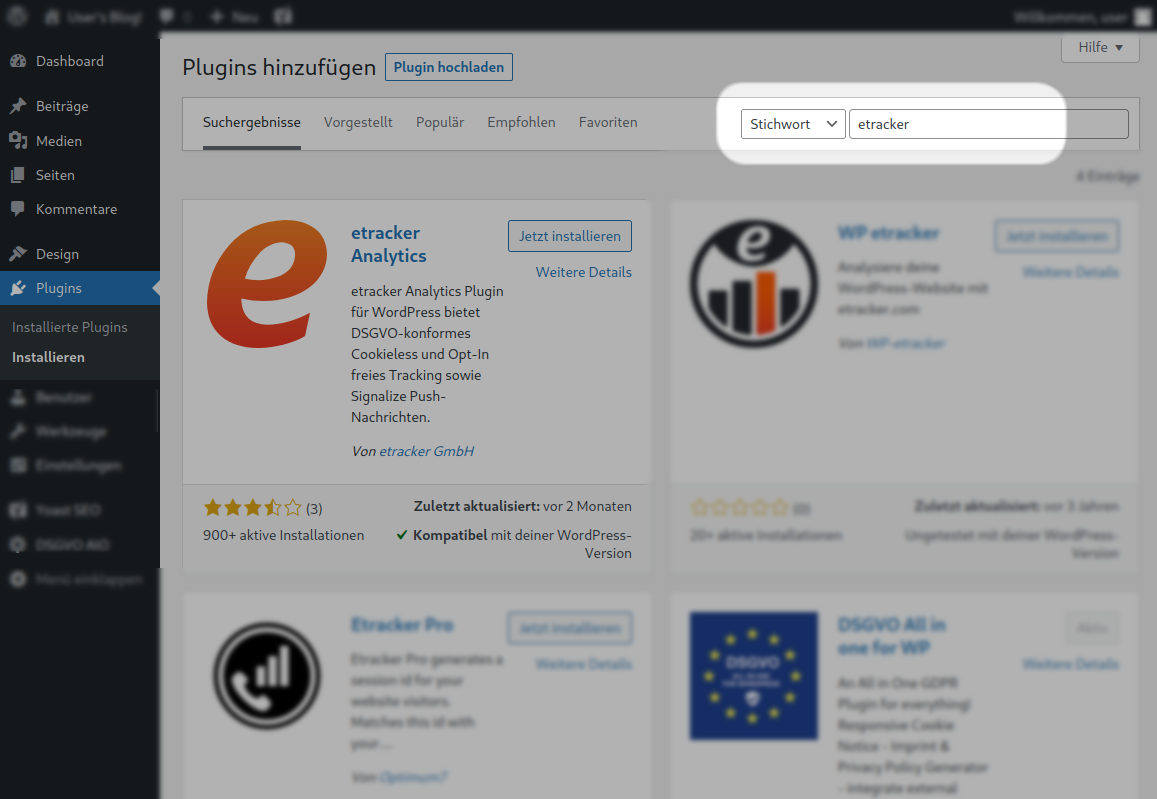
- Click on Plugins in the menu and simply search for etracker
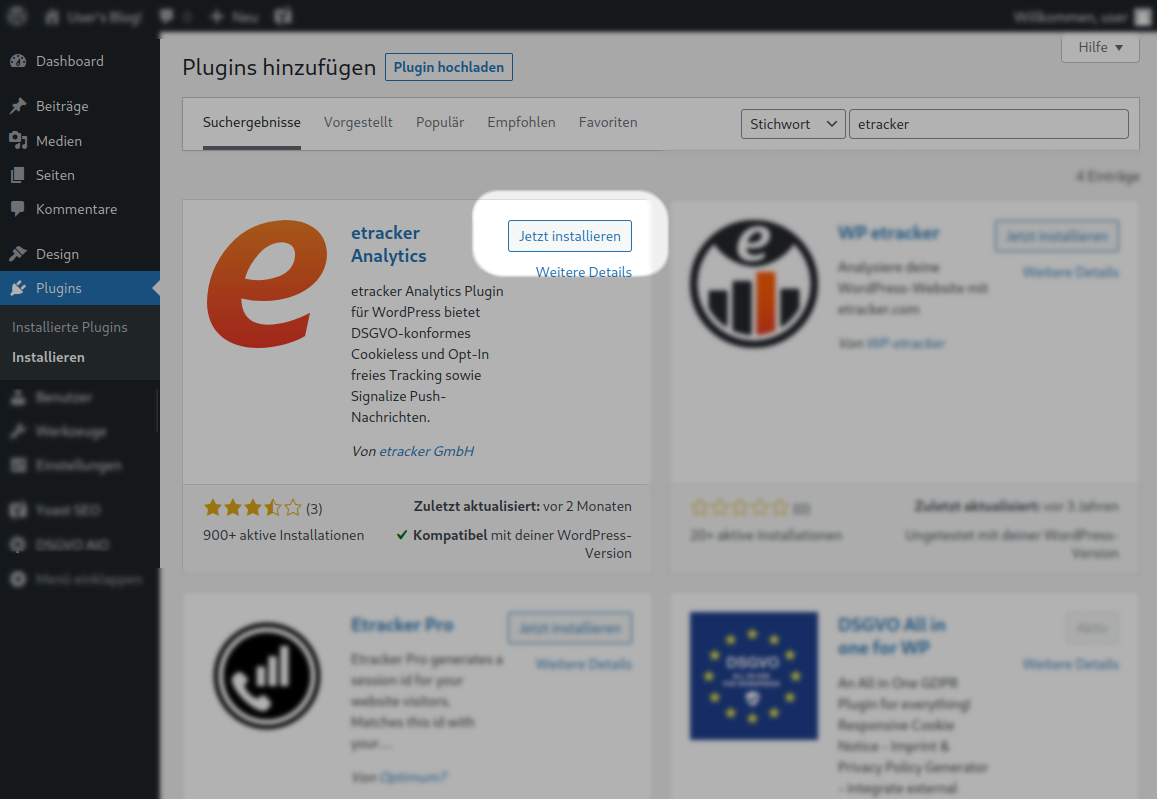
- Click on Install now for the etracker analytics plugin
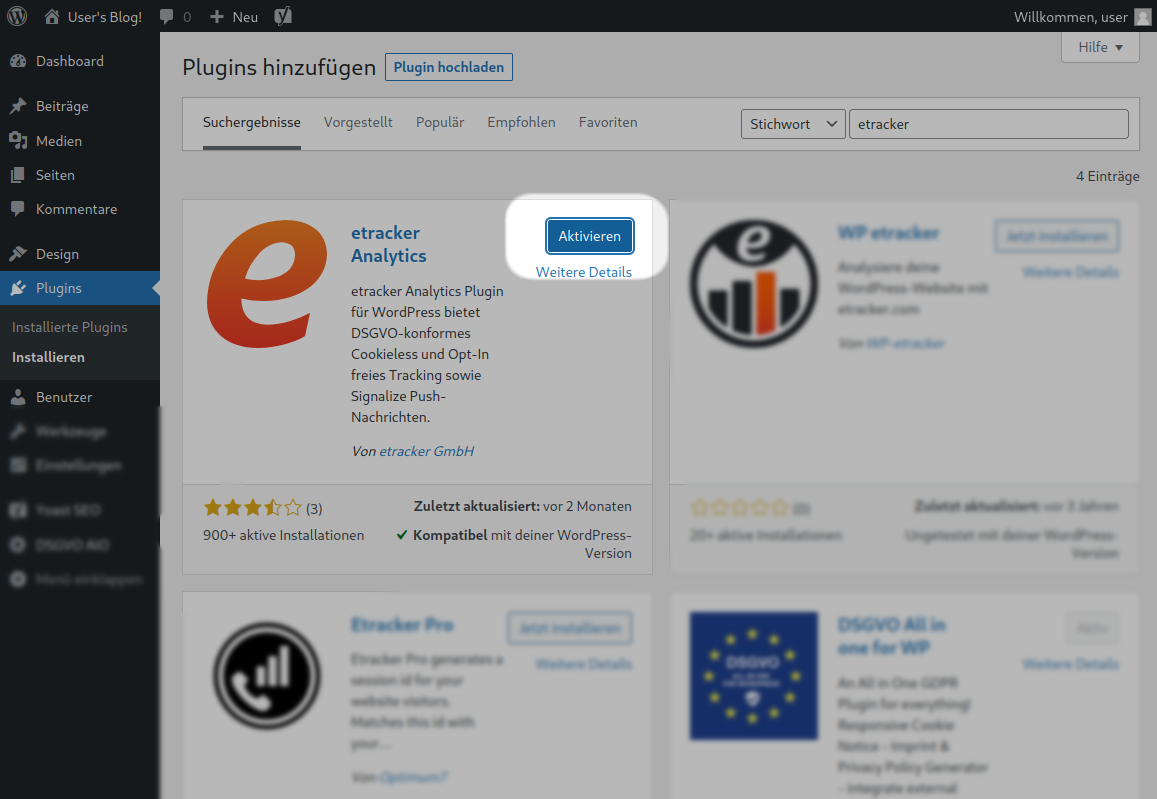
- Click Activate directly after installing the plugin
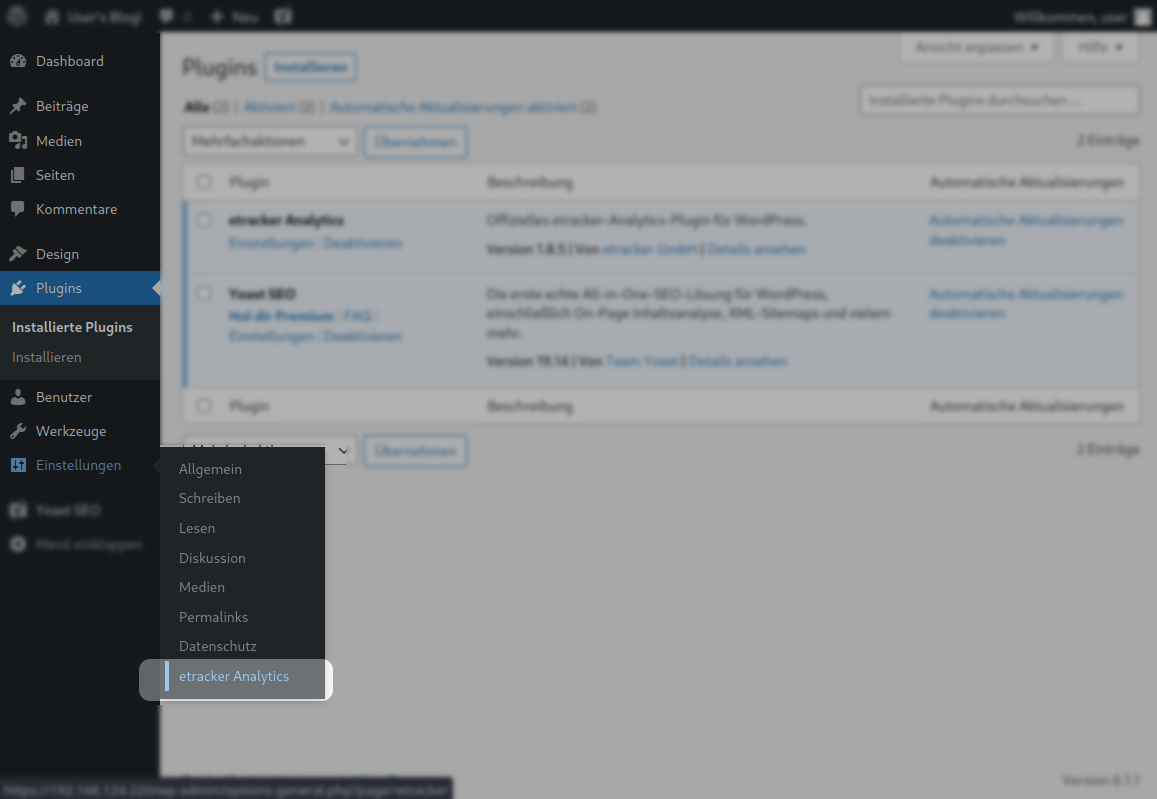
- Now you just need to make one last setting to integrate your tracking code into your site. To do this, go to the settings page of the plugin under Settings → etracker analytics.
- To integrate the etracker analytics tracking code on your website, you now only need to enter and save your account key.
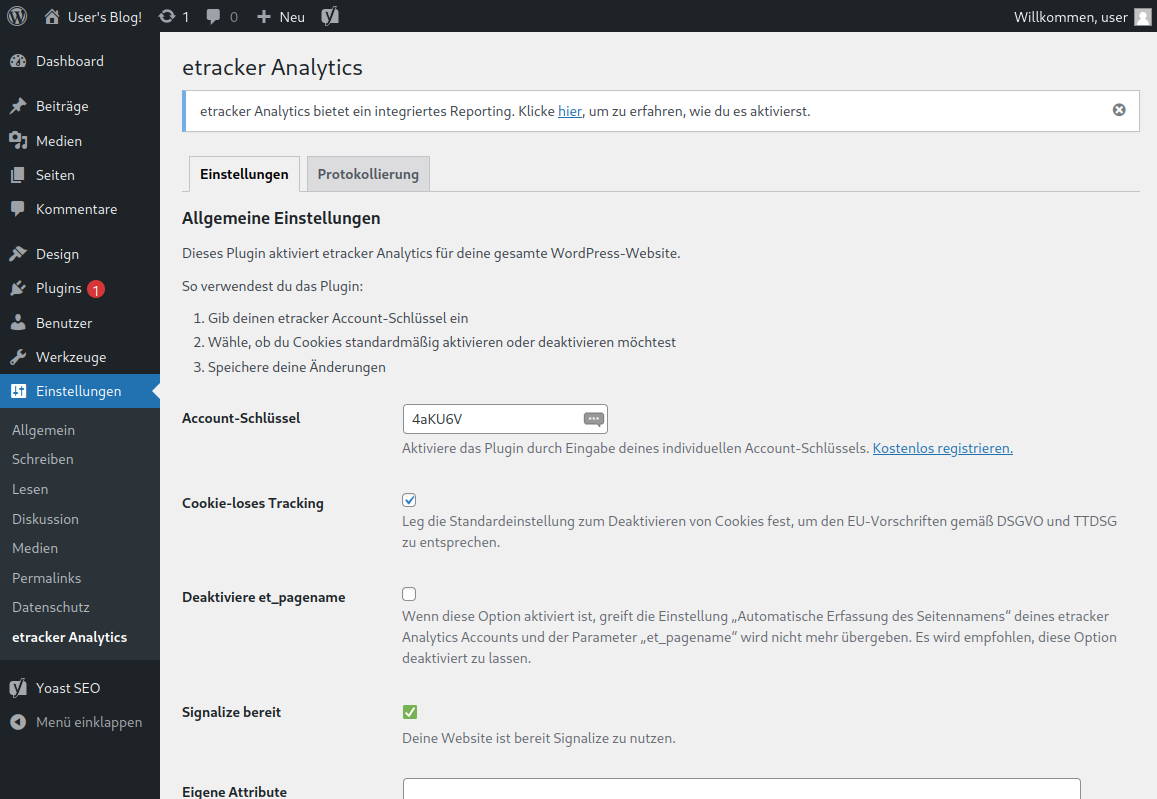
You can find your account key in the etracker analytics application: Account → Account → Account key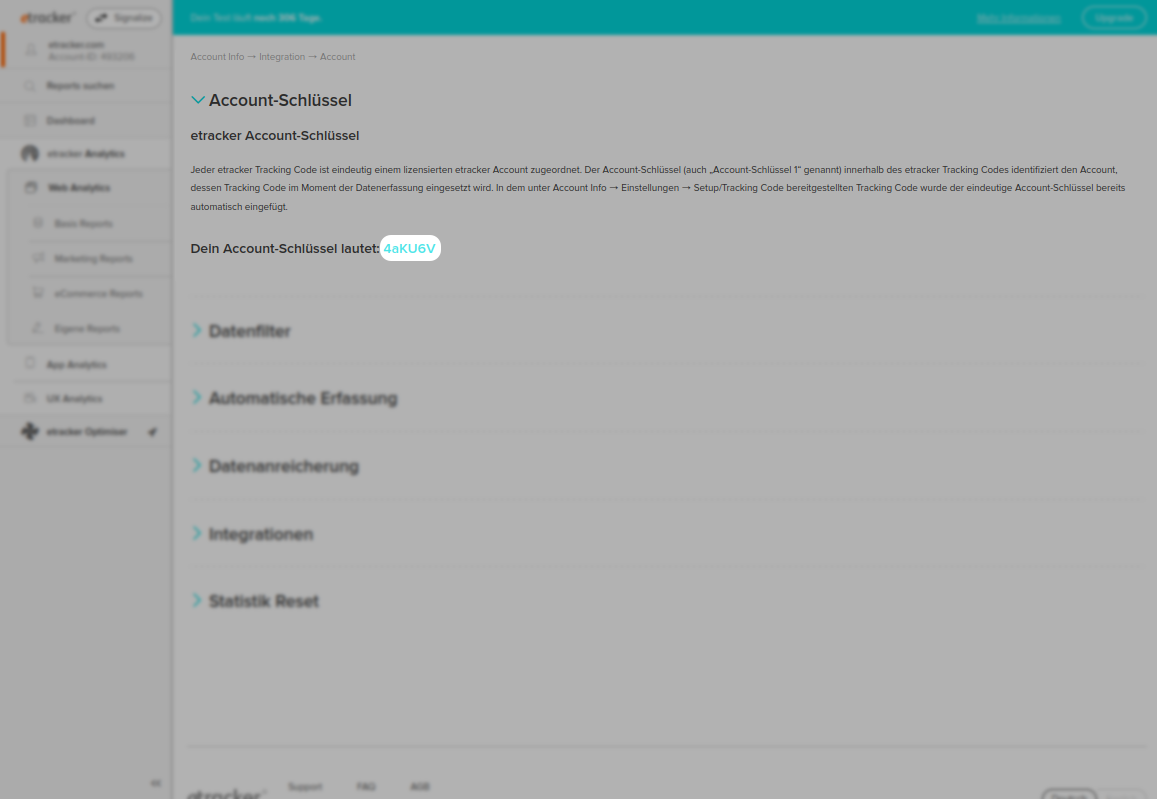
How do I activate integrated reporting?
- First, you need to create an access token in your etracker analytics account. To do this, go here in the etracker analytics application: Integration → Access token.
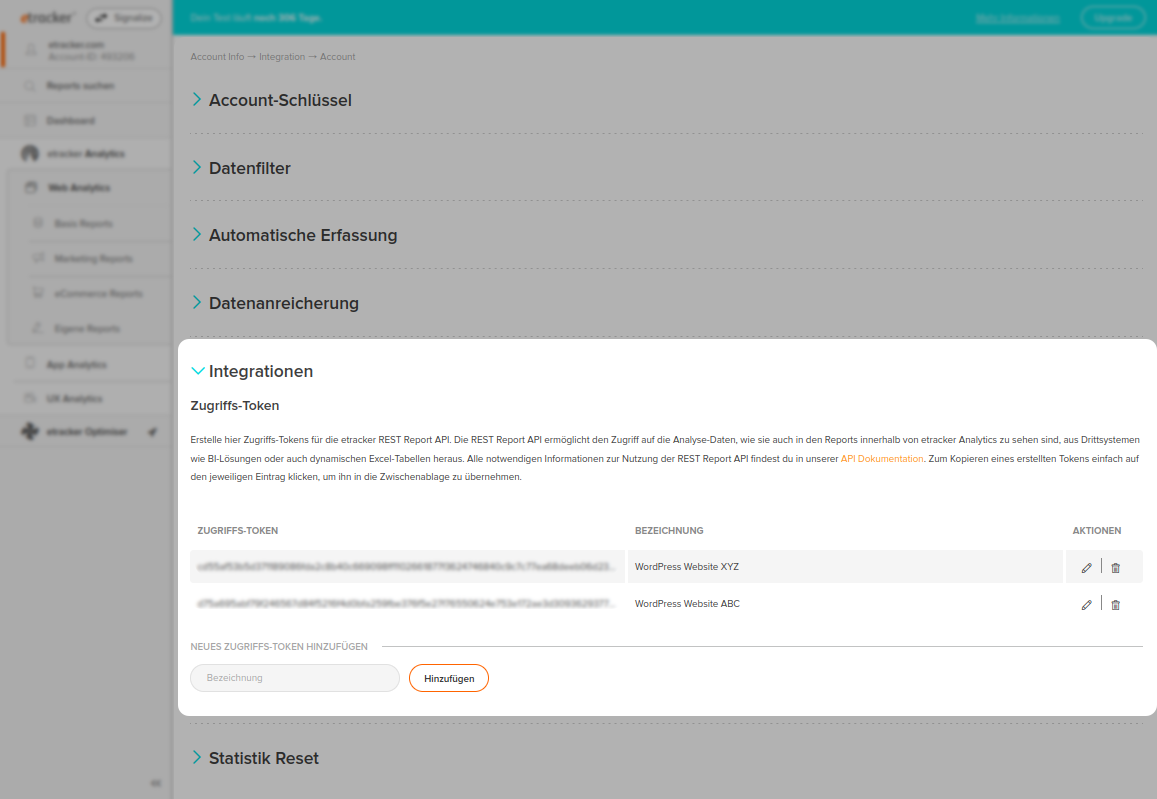
- Here you simply create a new access token and copy it to yourself.
- In your WordPress, you now only need to enter and save the access token in the etracker analytics settings in the Integrated Reporting section.
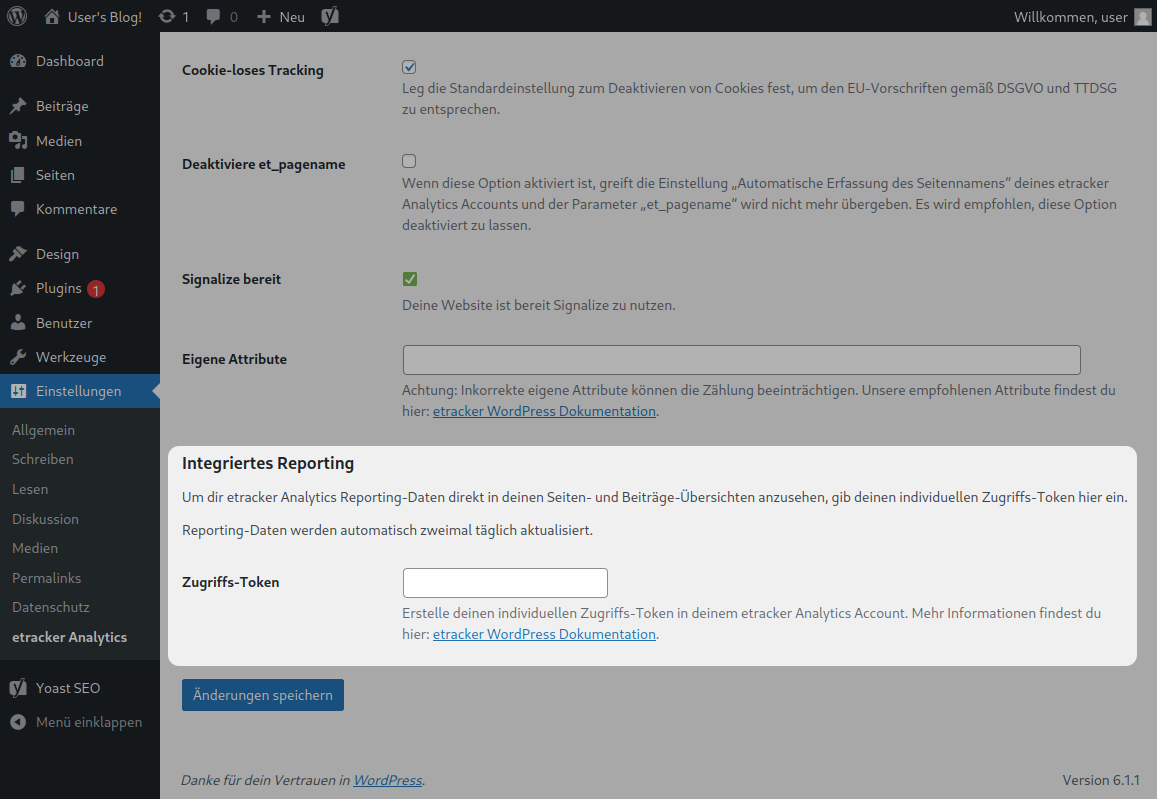
- In the next few minutes, your WordPress will automatically be filled with the first reporting figures.
How do I use the etracker analytics plugin for WordPress together with WP Rocket?
If you use the WP Rocket plugin, an exception for etracker must be added.
- In WP Rocket, under File Optimization, add the following to the Javascript exceptions field:
//code.etracker.com/code/e.js - When using your own tracking domain, please enter the following:
//umerf.meinedomain.de/code/e.js
How can I add my own attributes to my tracking code?
Additional attributes can be added to the tracking code on the plugin’s configuration page.

This can be useful if adjustments are made for a CMS system. If you want to enter several attributes, these must be separated by a semicolon (;). Possible attributes would be e.g:
data-cookieconsent="ignore"data-cmp-ab="1"
You can find an overview of all CMP systems and the corresponding attributes here.
How can I set up my own tracking domain?
Additional attributes can be added to the tracking code on the plugin’s configuration page.

Enter the tracking domain you have set up in the Own tracking domain field as follows: For example: metrics.yourdomain.com