etracker login via SAML SSO
etracker users with an Enterprise license have the option of conveniently logging into their account via SAML Single Sign-On (SAML SSO) and thus controlling access rights securely and centrally.
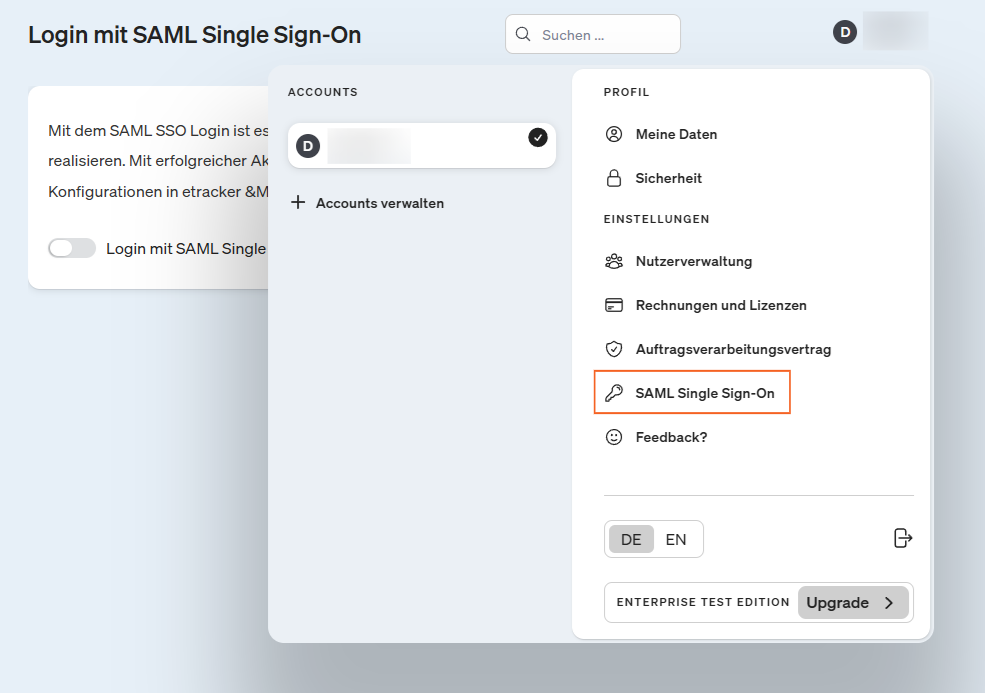
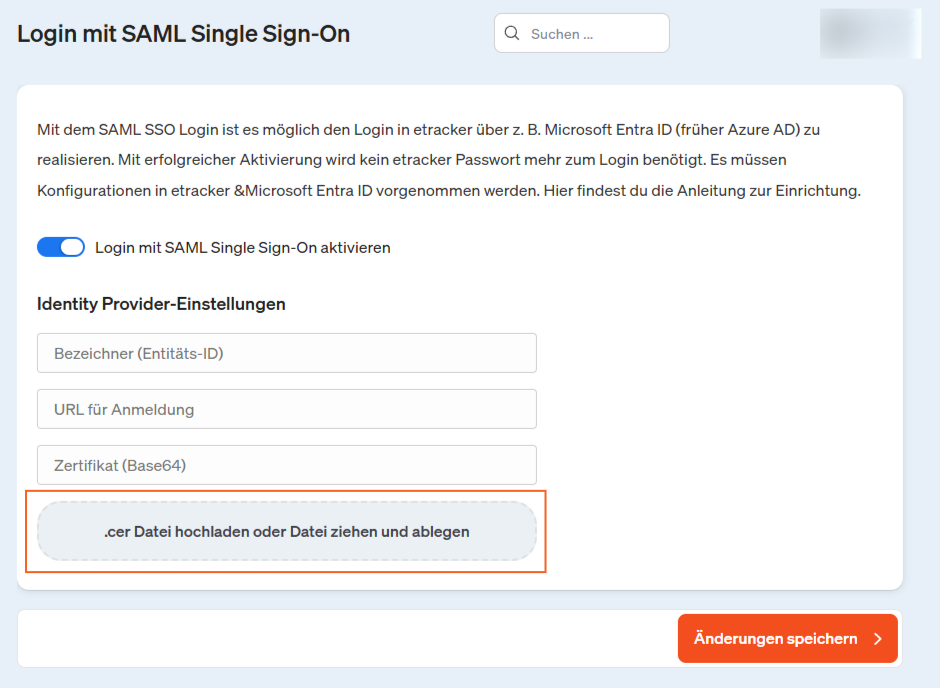
To do this, log into your etracker account and go to the menu on the right to SAML Single Sign-On:
We will show you how to set up SAML SSO using Microsoft Entra ID (formerly Azure AD) as an example:
Settings must be made in etracker and Microsoft Entra ID (formerly Azure AD) for the configuration. Admin rights are therefore required in both tools.
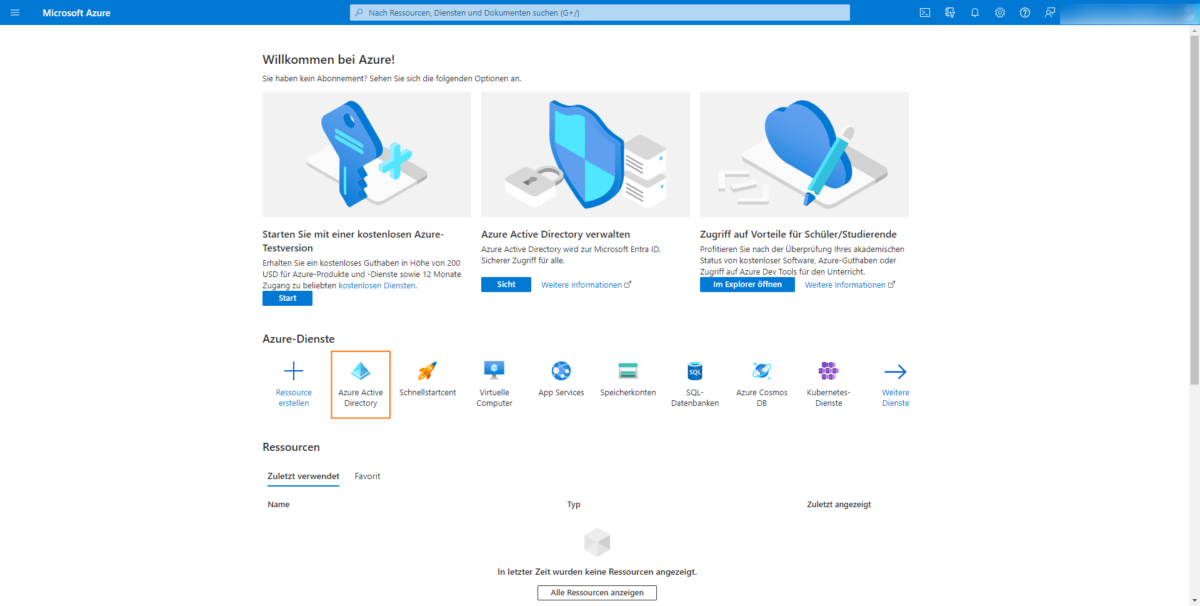
Log in to Microsoft Entra ID (formerly Azure AD) and click on the Microsoft Entra ID icon:
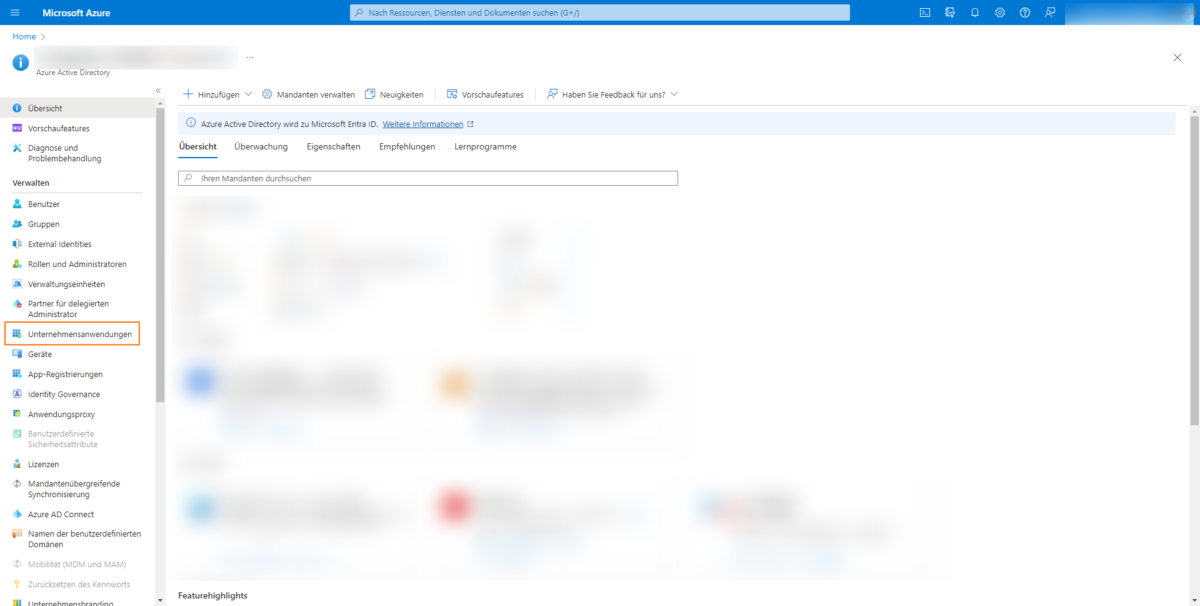
Now click on Enterprise applications in the menu.
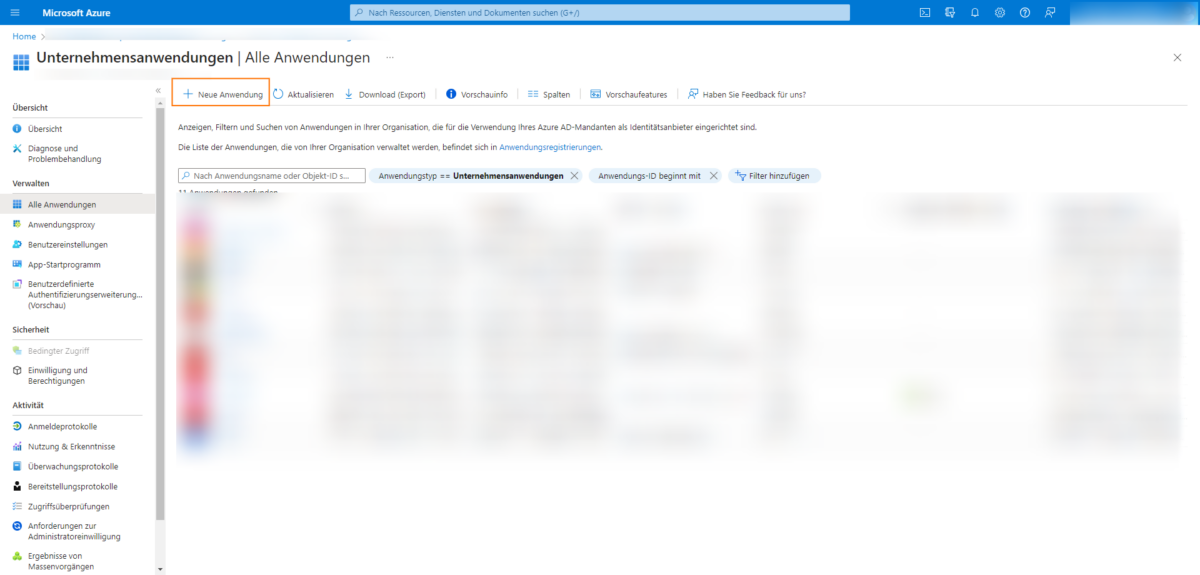
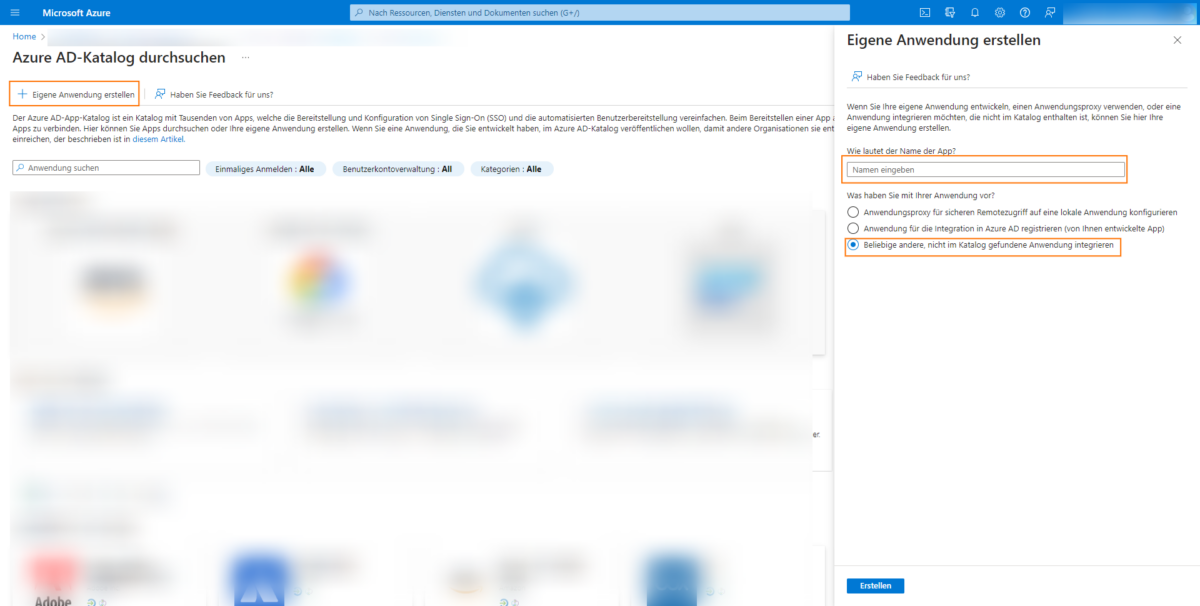
Create the required application there using the New application button.
Assign an internal name to the app and leave the setting at Integrate any other applications not found in the catalog:
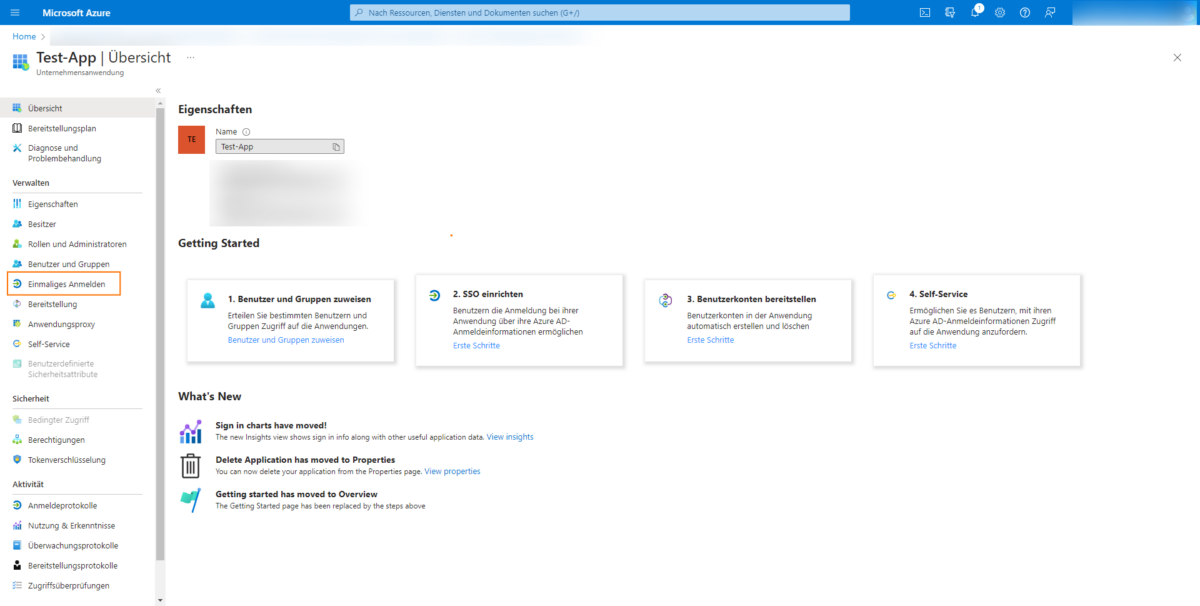
The application has now been created and can be configured. To do this, click on Single sign-on:
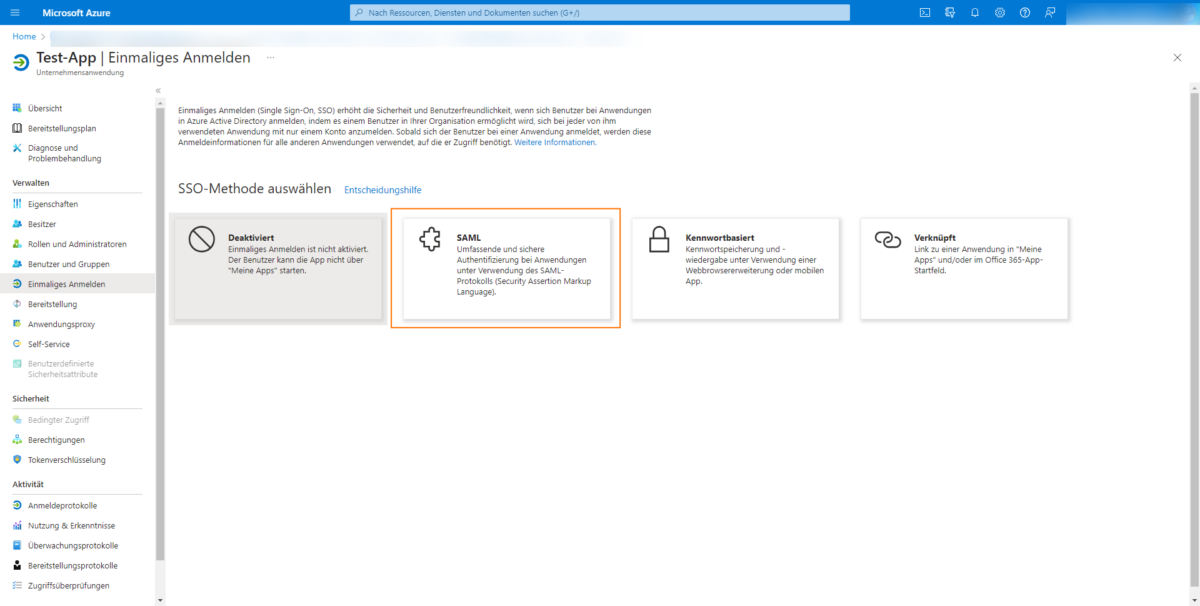
Then select SAML here:
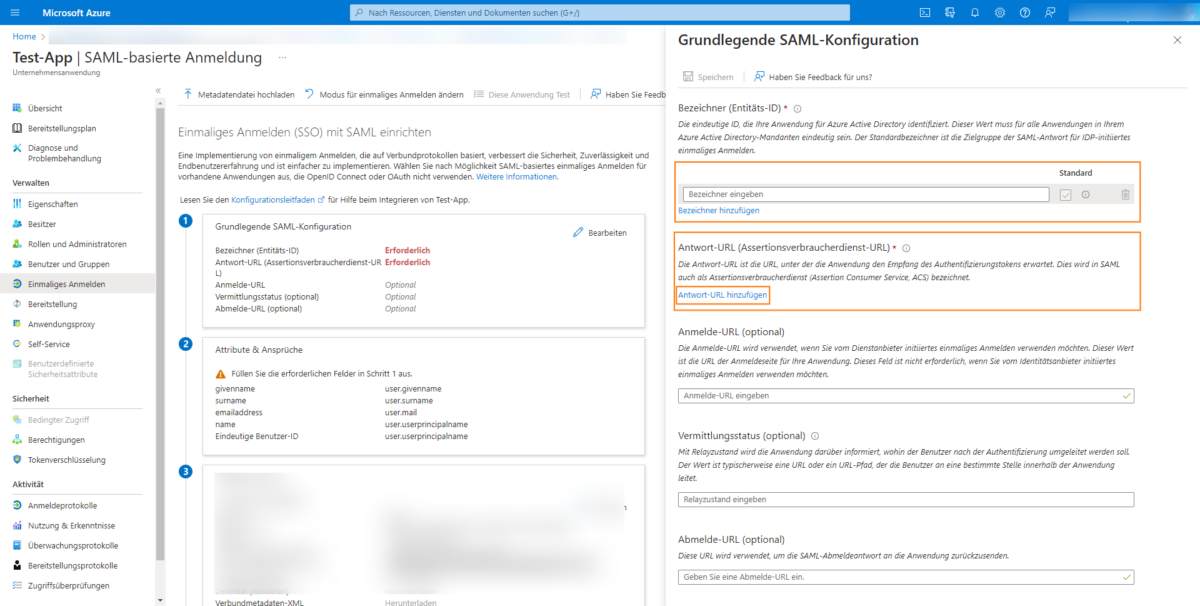
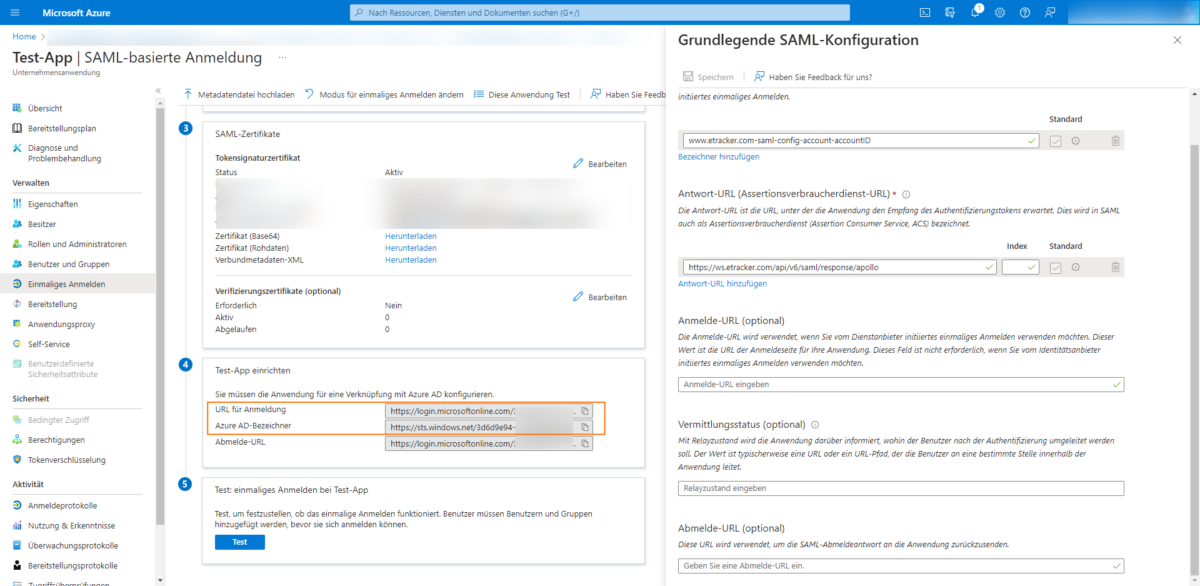
Click on Edit in the 1st step to make the SAML configuration:
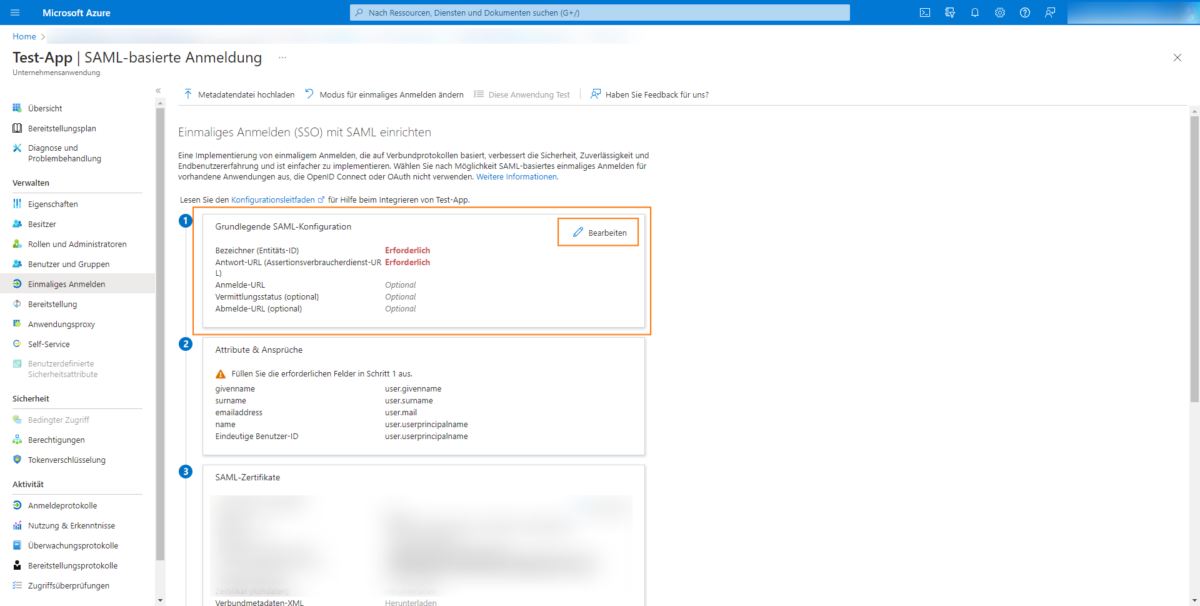
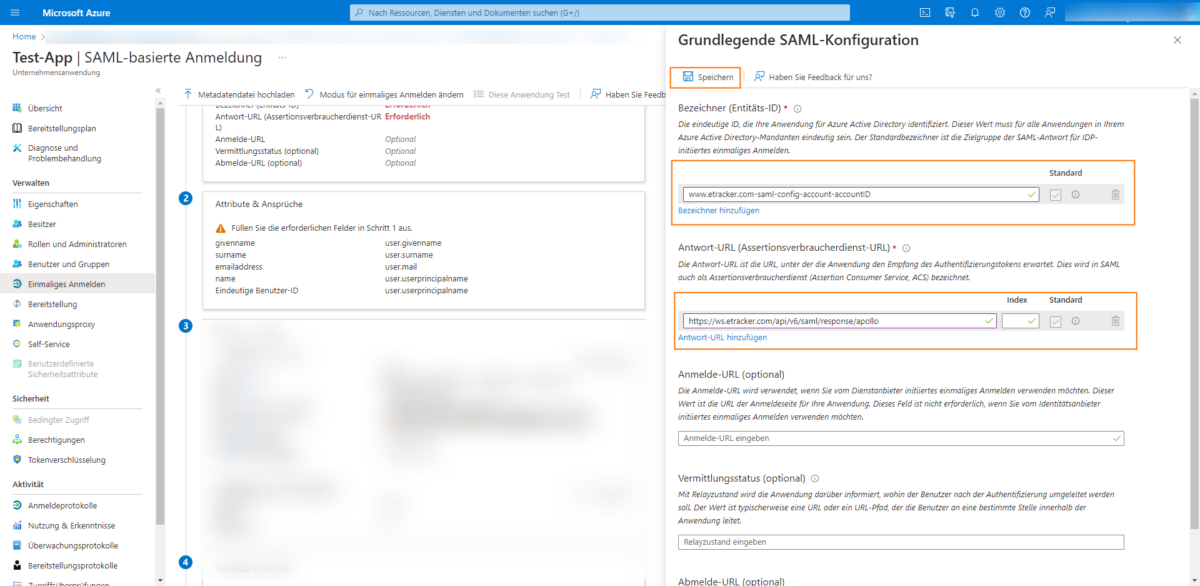
Add both an identifier using the Add identifier button and a response URL using the Add response URL button:
You can copy both from your etracker account:
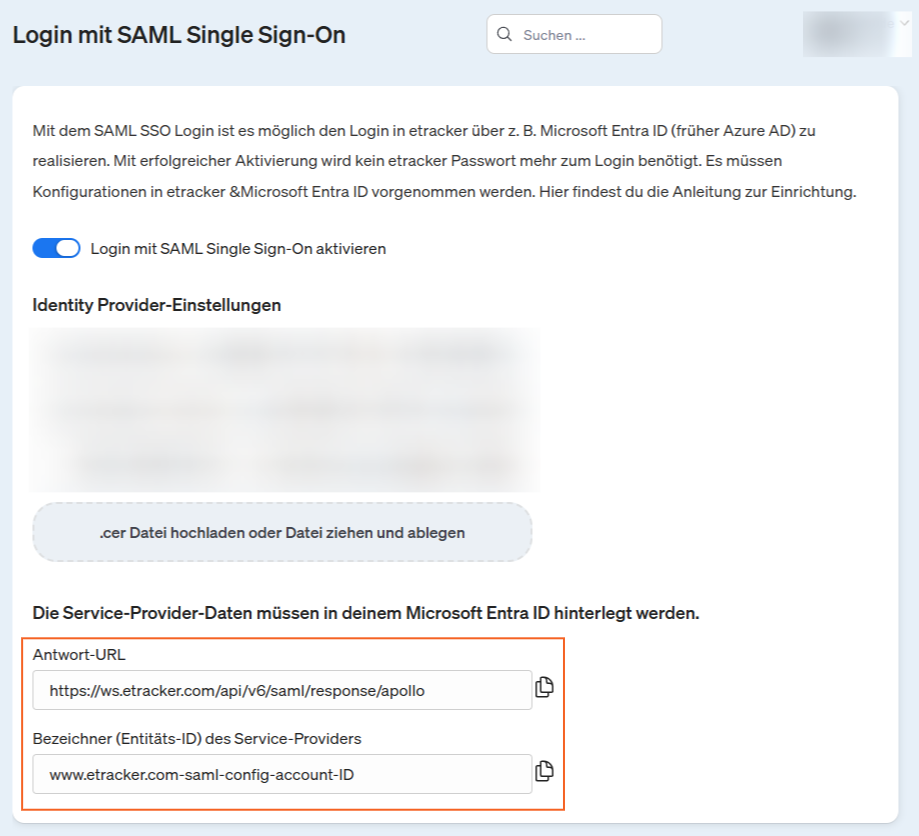
Save the entered data using the Save button. If access is to be granted to several etracker accounts, the different accounts can be added as identifiers.
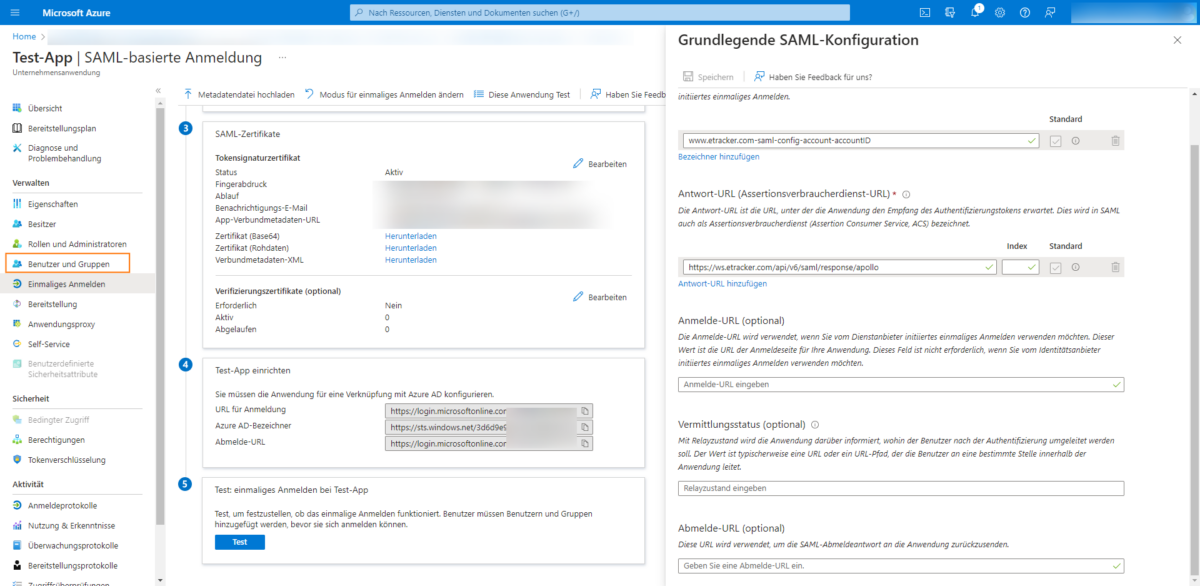
Then download the certificate in Base64 format in step 3:
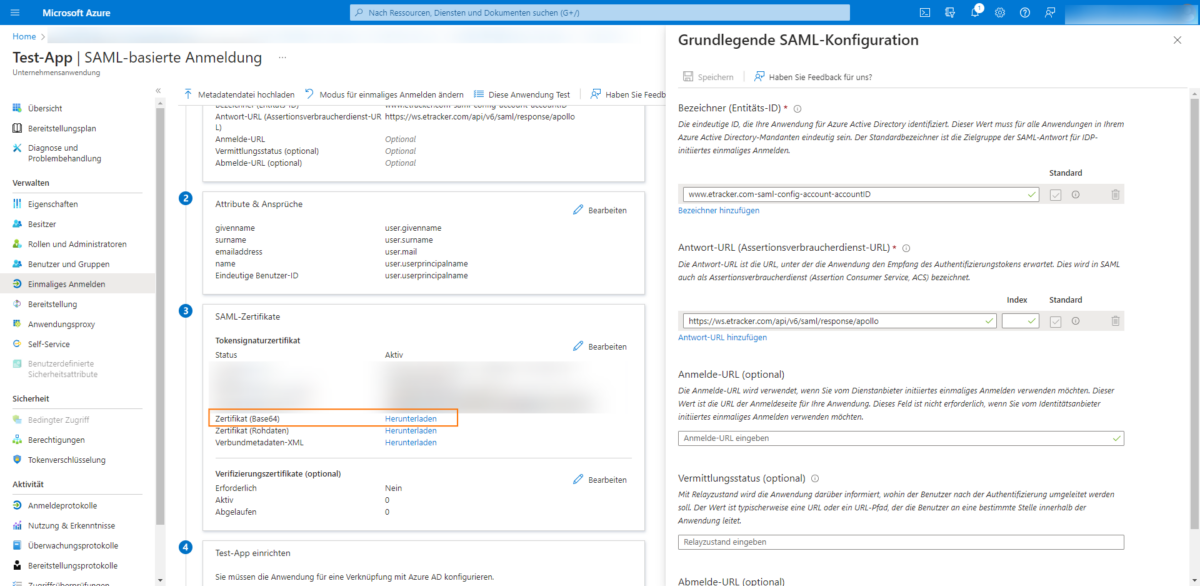
The downloaded certificate is uploaded to etracker under Certificate (Base64):
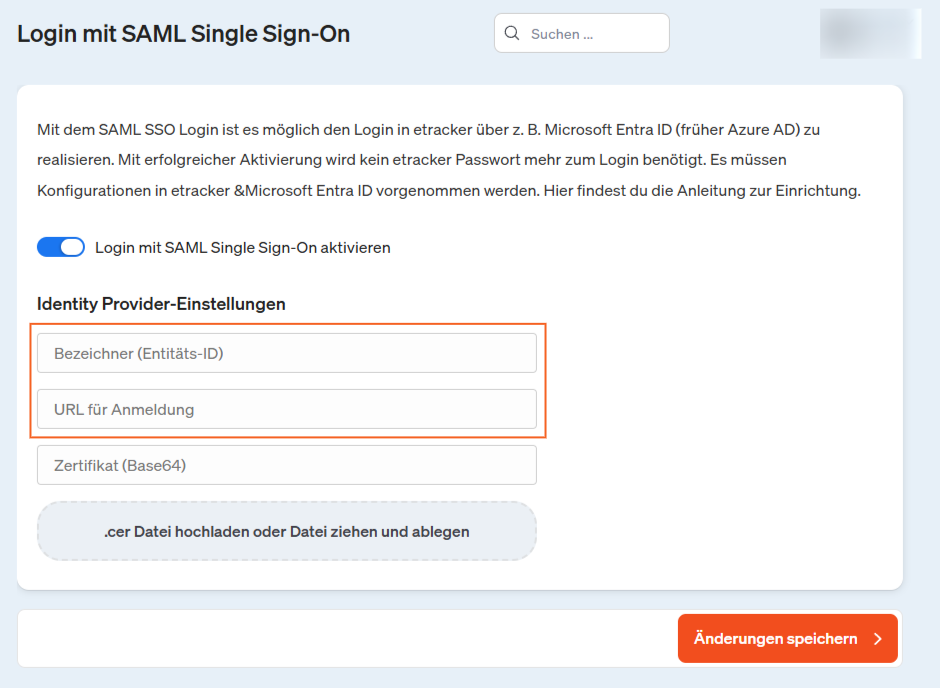
In addition, the data for URL for login and Microsoft Entra ID (formerly Azure AD) identifier is copied from step 4 …
and inserted accordingly in etracker under Identifier ID and Response URL:
This completes the configuration and a co-user can be created who can log into the etracker account.
To create a co-user, proceed as follows:
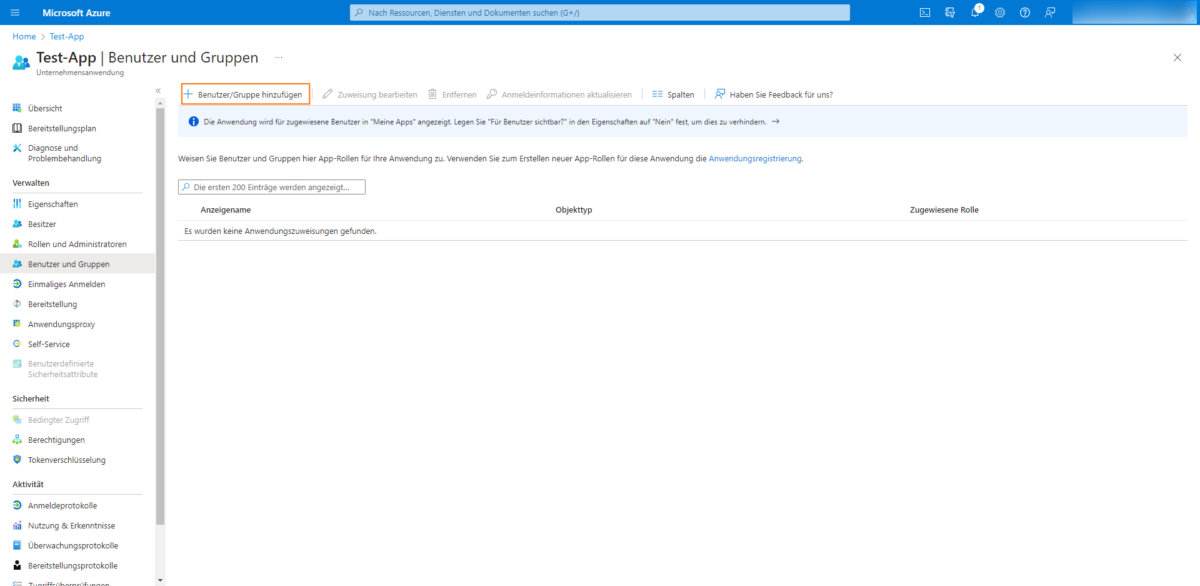
Select the menu item Users and groups:
Then add a new user using the Add user/group button:
Open the list of users from the Microsoft Entra ID (formerly Azure AD) via the None selected button and select the desired user:
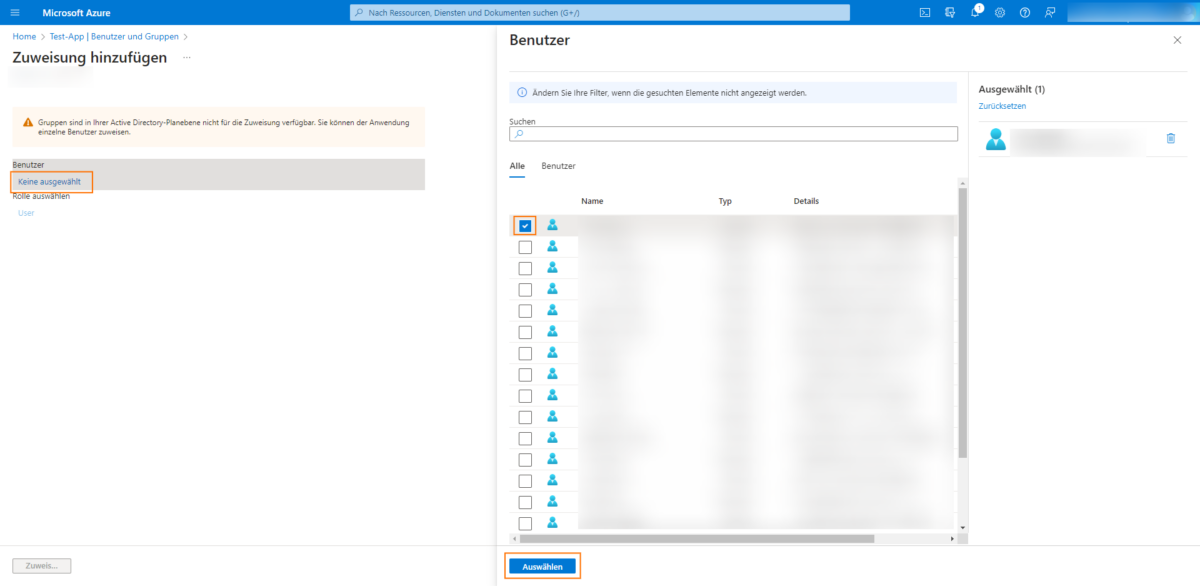
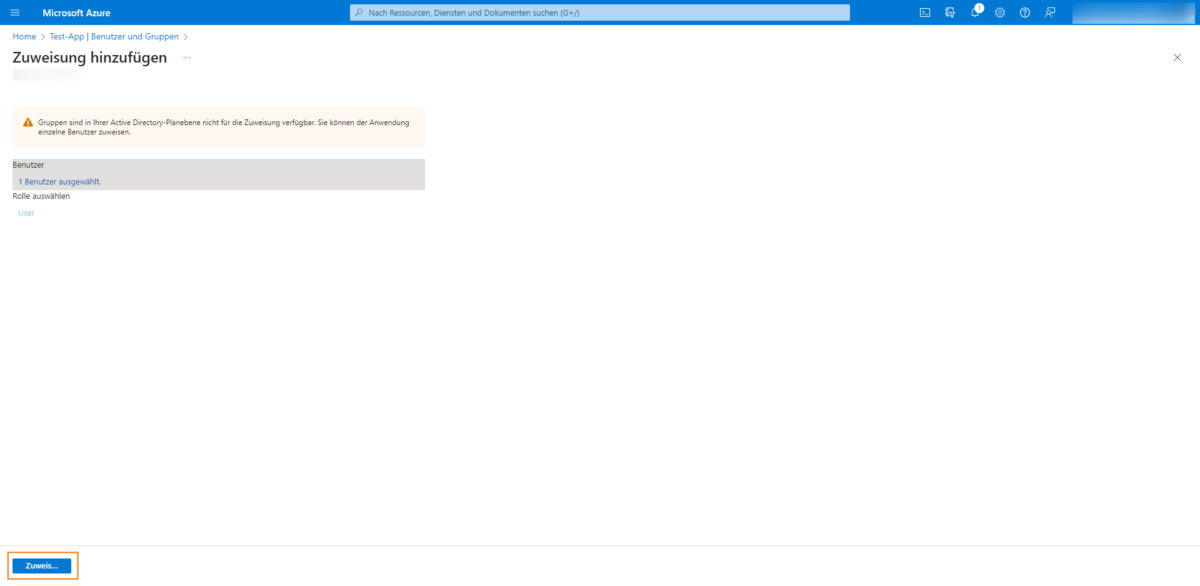
The selected user is assigned to the created application in the next step:
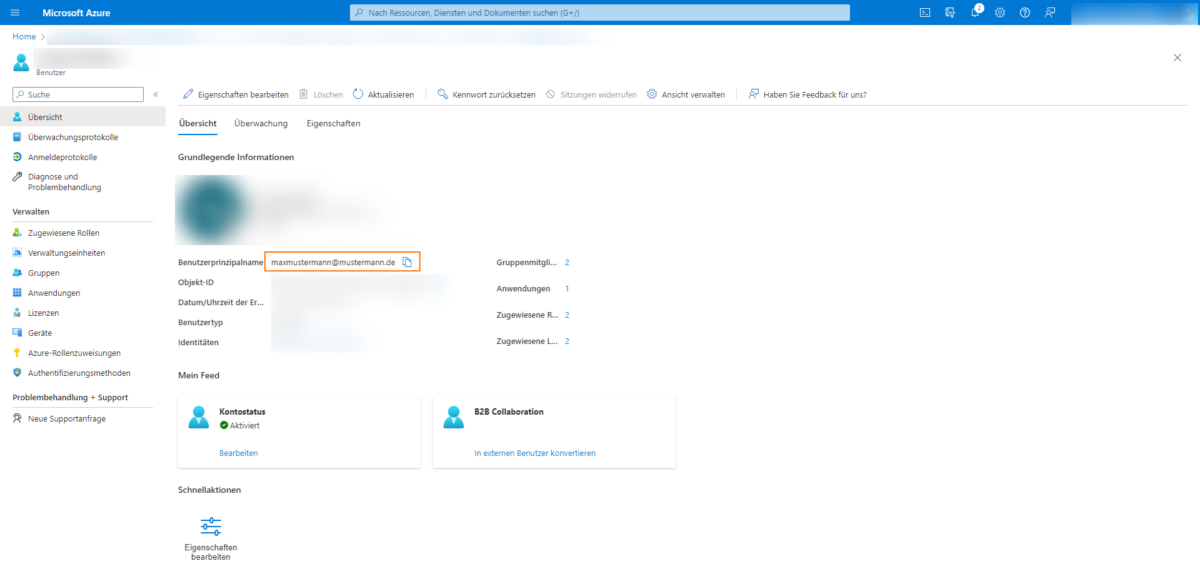
Now click on the created user and …
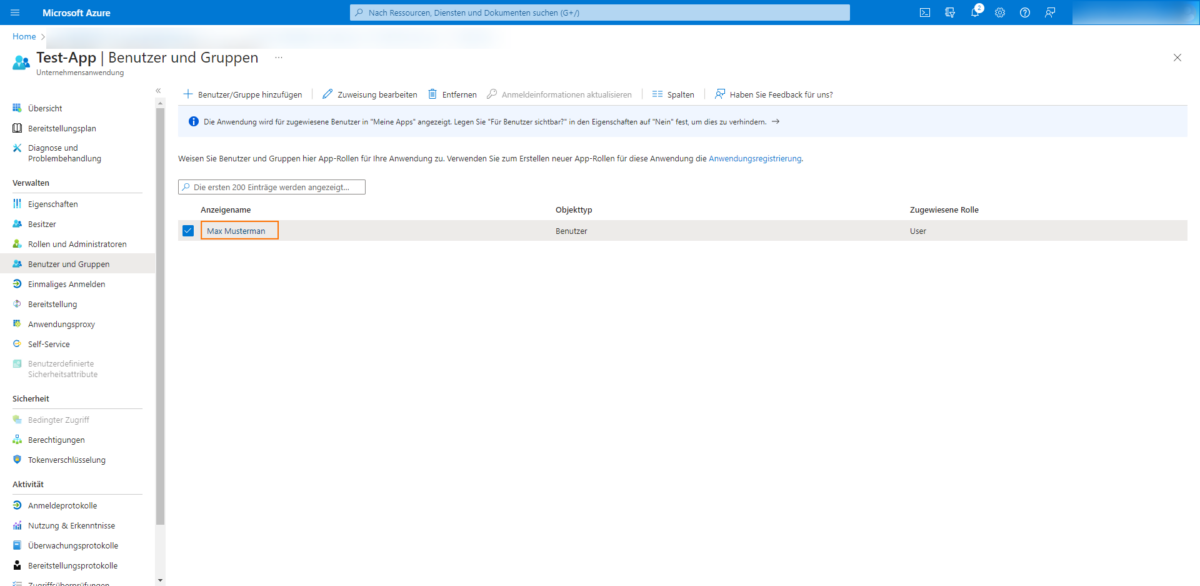
Copy the stored e-mail address:
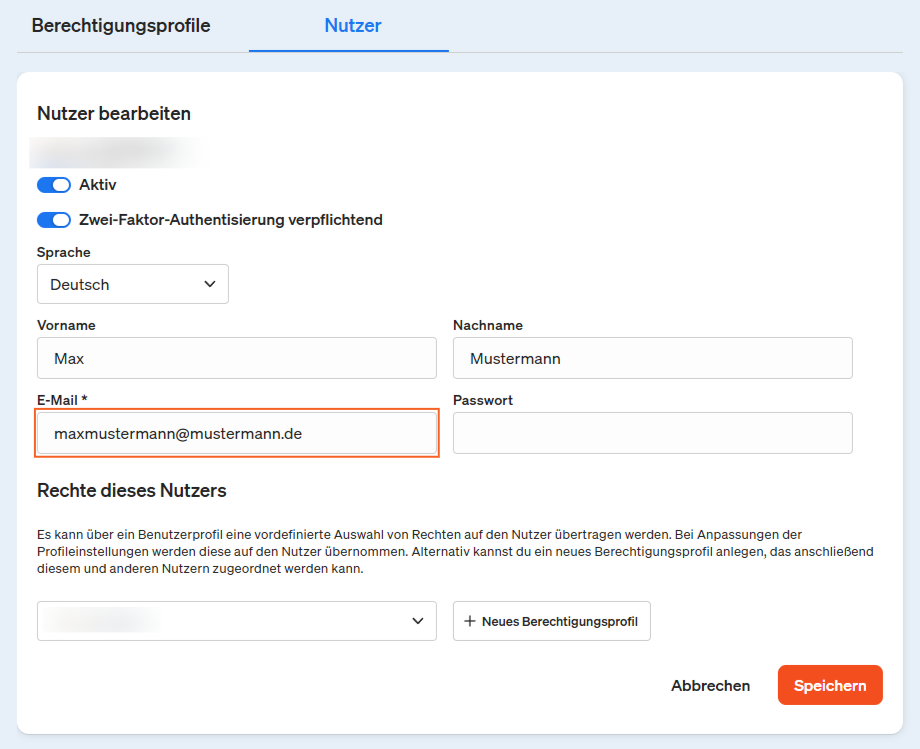
Create the user with this e-mail address in etracker under Settings → User management. The created user can now log in via SSO and no longer needs a password:
After creating a user, the account ID can be entered in the etracker login screen and logged in via Microsoft Entra ID (formerly Azure AD) using the“SAML Login” button:

Done!