Facebook & Instagram Ads Connector
Setting up Facebook & Instagram Ads conversion tracking
Below we will show you how to set up the campaign measurement of Meta Ads and the automatic transmission of conversion data to Meta.
The automatic upload of conversion data to Meta allows you to,
- see the conversion rates and sales of your campaigns directly in the Meta Business Manager so that you can manage campaigns completely there.
- conversions and sales for automatic bidding strategies such as target CPA or target ROAS.
Prerequisites:
- etracker analytics Pro or Enterprise Edition with administration rights
- Access to the Meta Ads Manager
- Conversion actions are set up in etracker analytics – either as orders (leads), purchases (sales), target achievements (in conversion processes) or Tag Manager conversions
In order to gain maximum conversion data for bid optimization, we recommend the combination of server-side upload and meta conversion tag. The prerequisite for this is that the same conversions are recognized as identical and are not mistakenly taken into account more than once. It is therefore essential to follow the instructions on deduplication under point 3 if you want to record conversions on the website in parallel using etracker analytics and the meta tag.
The facility consists of these points:
- Setup of the Meta Ads conversion upload.
- Setting up Meta Ads campaign tracking.
- Optional (recommended): Set up the meta conversion tag.
Setting up the Meta Ads conversion upload
The setup is completed in just four steps:
Step 1: Setting up a data source
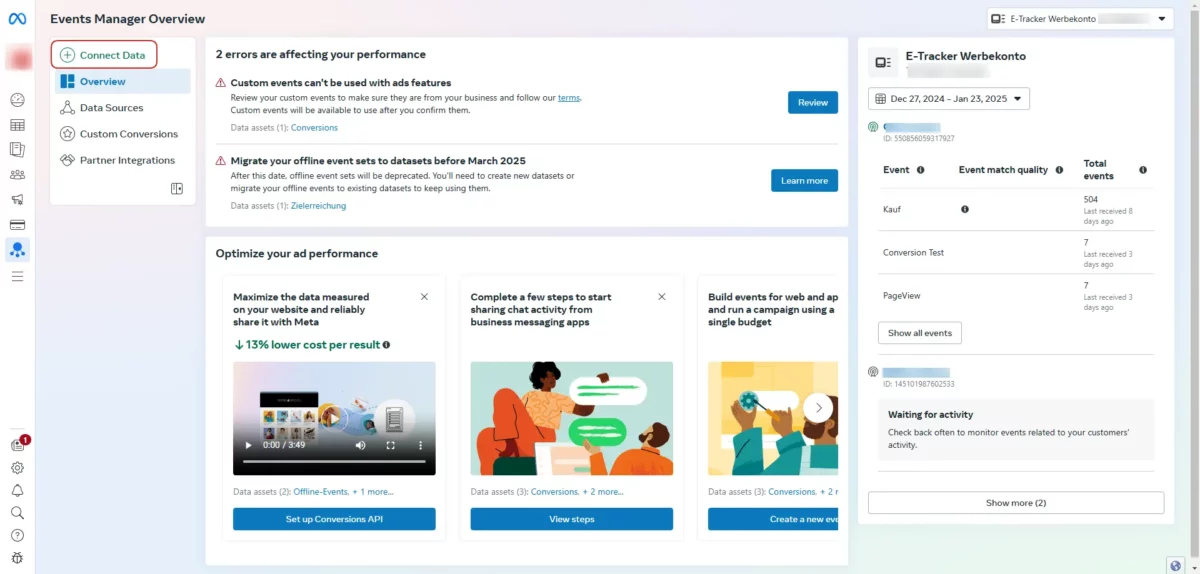
To create a new data source, click on Events Manager → Link data in the Meta Business Manager menu bar.
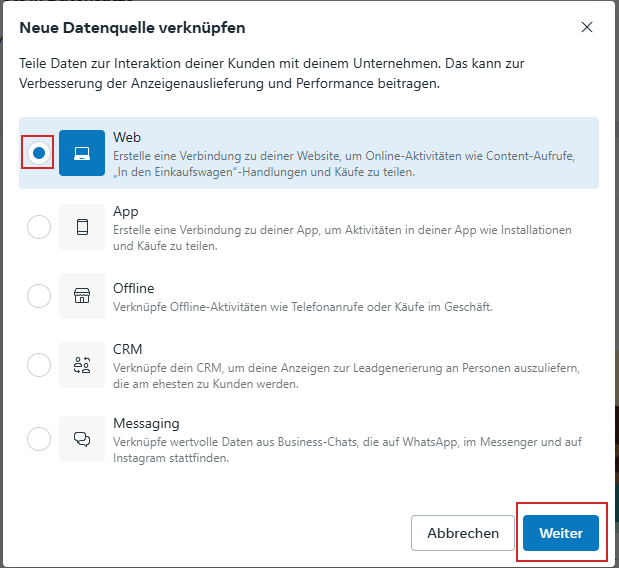
Select Web in the pop-up that appears and then continue:
Then click on Create new data record:
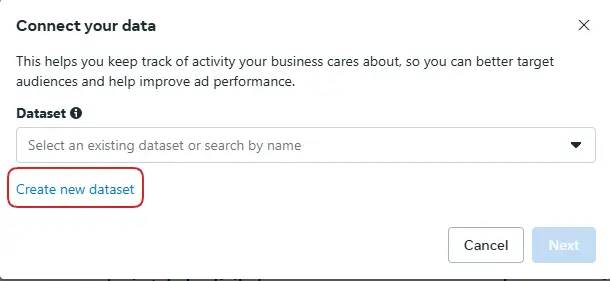
Enter a name for the data record, such as “Conversion” (the name is freely selectable), and select Create.

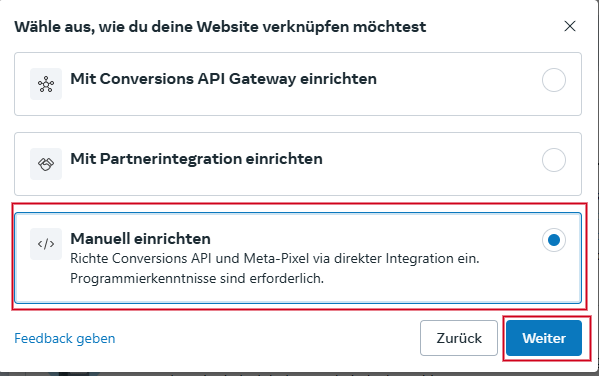
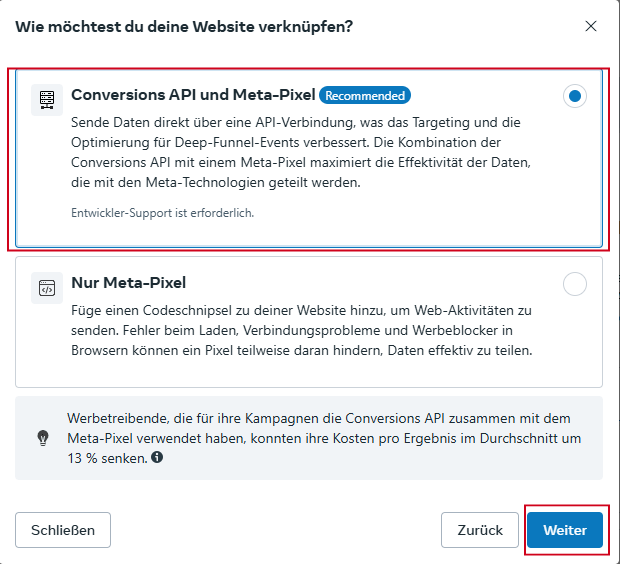
Select Set up manually, then Conversion API and Meta Pixel (even if data is only to be sent via the Conversion API and not additionally via Pixel):
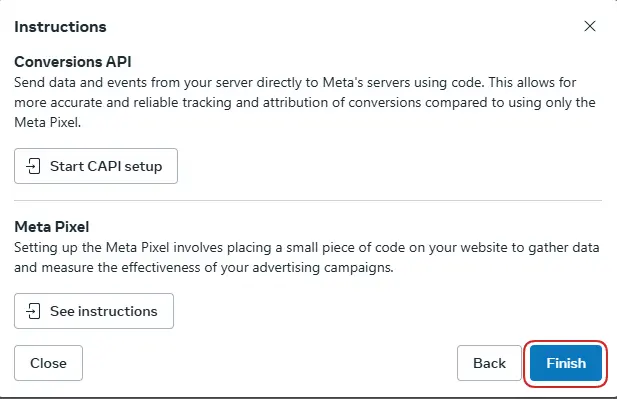
Completethe creation of a new data source viaFinish.
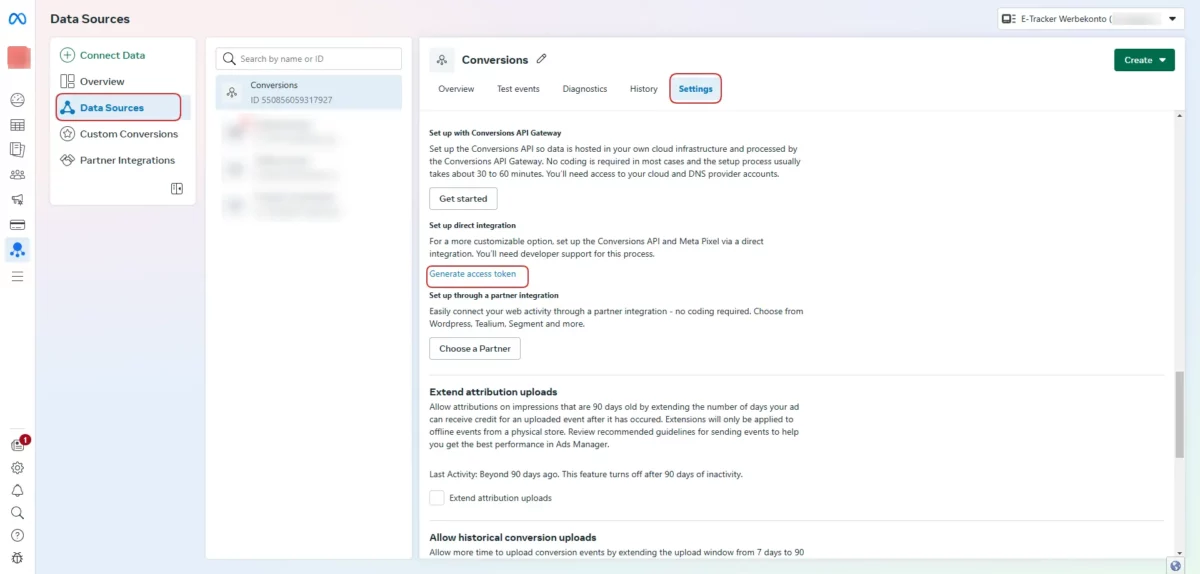
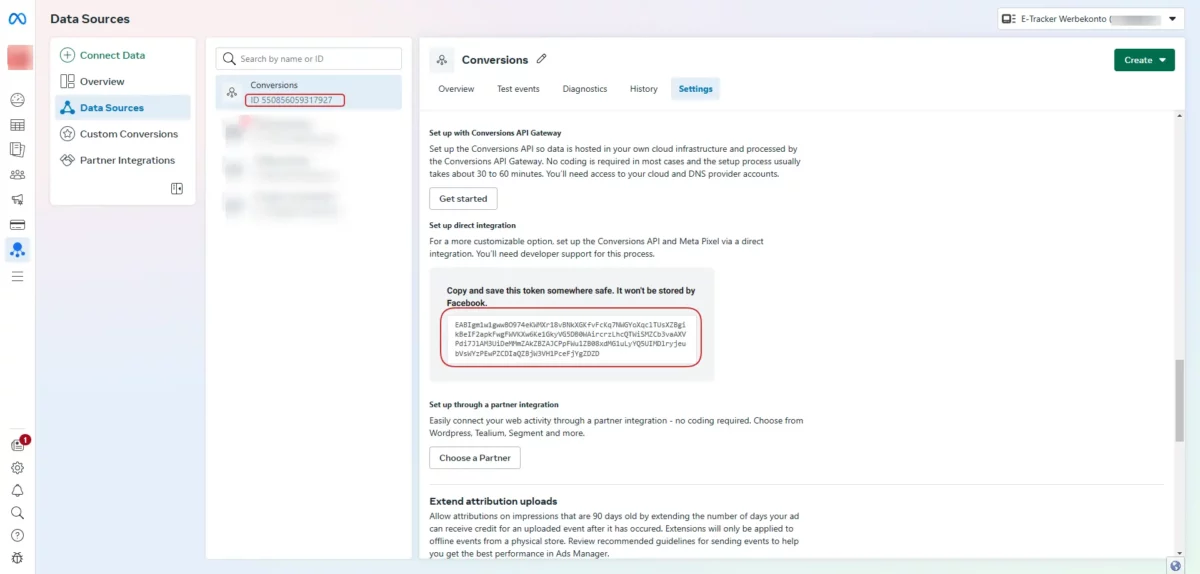
Step 2: Create conversion access token
For the created data source, go to Settings → Generate access token and copy the token to the clipboard.
Step 3: Setting up the conversion upload in etracker analytics
Go to Configuration → Conversion upload:
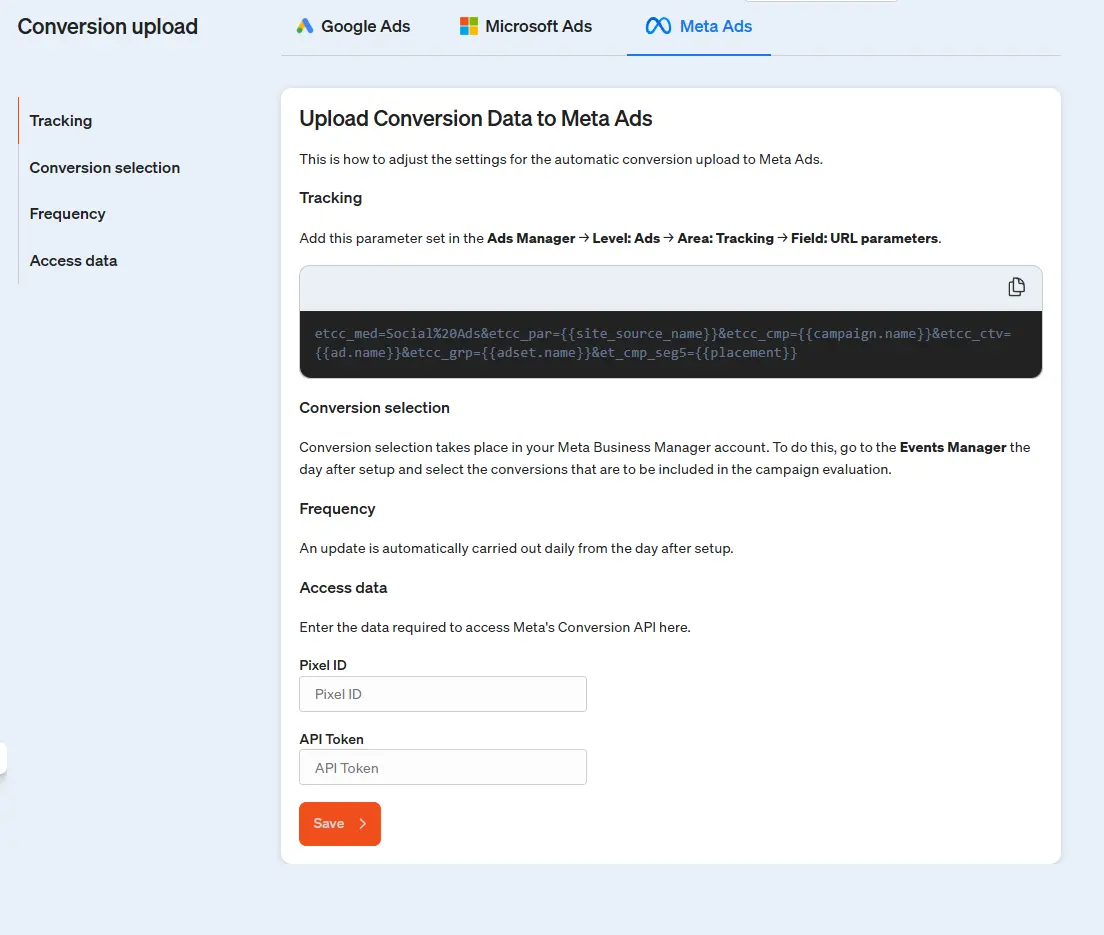
Paste the token copied in step 2 into the API Token field and also the record ID of your data source.
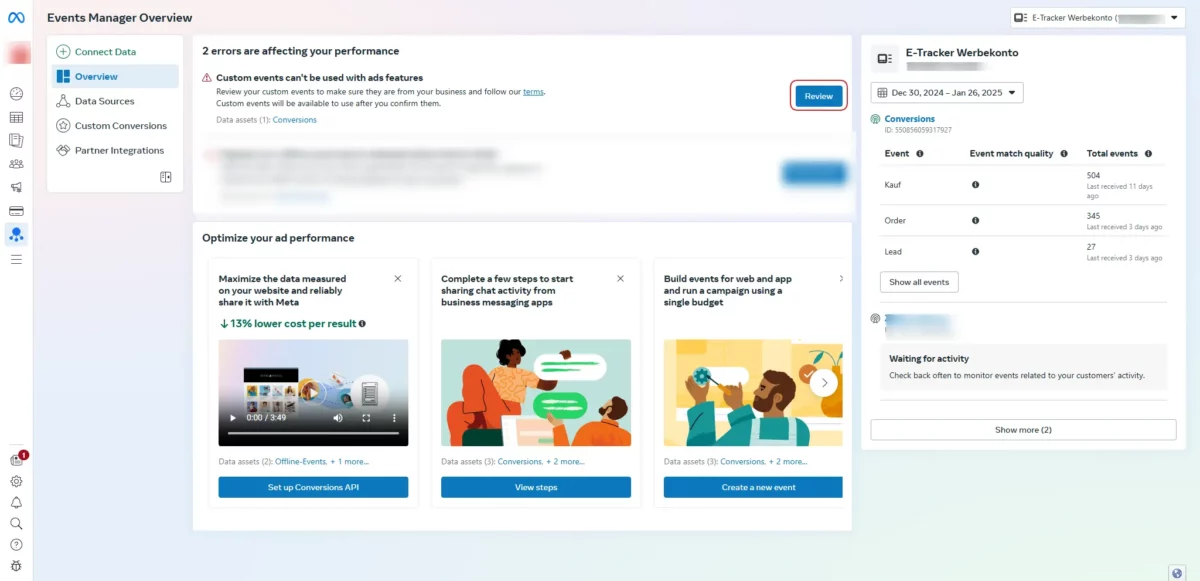
Step 4: Release conversion actions in the Meta Events Manager
Your conversion data is uploaded for the first time in the etracker interface the day after you set it up (provided you have set up campaign tracking for your ads and conversions have been measured via Meta Ads). The uploaded conversion actions must then be approved. To approve them after the first upload with conversions, go to the Meta Events Manager again and select Review in the overview.
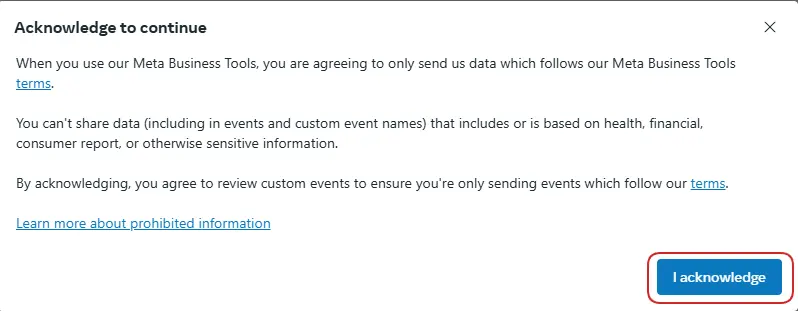
Click on Confirm in the pop-up that appears.
Select the events you want to confirm:
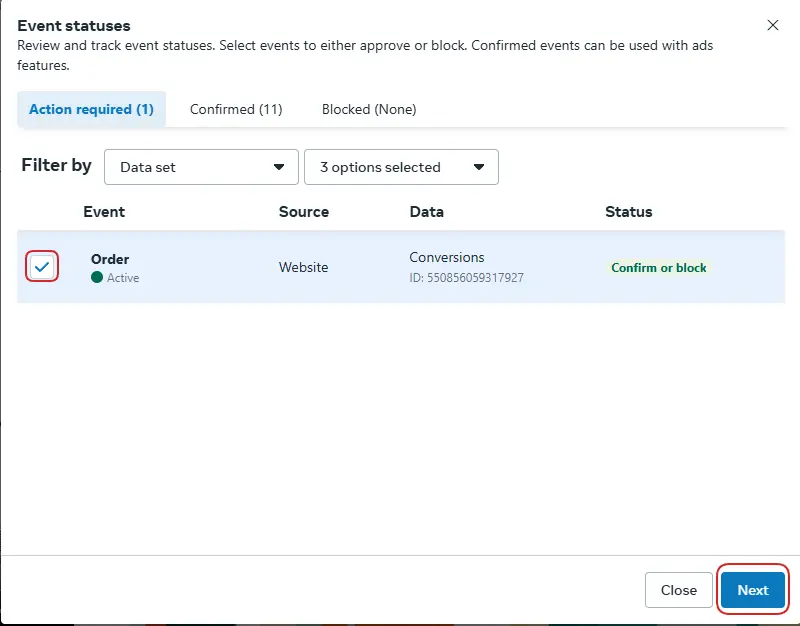
Then go to Confirm self-defined event and then click on Confirm:
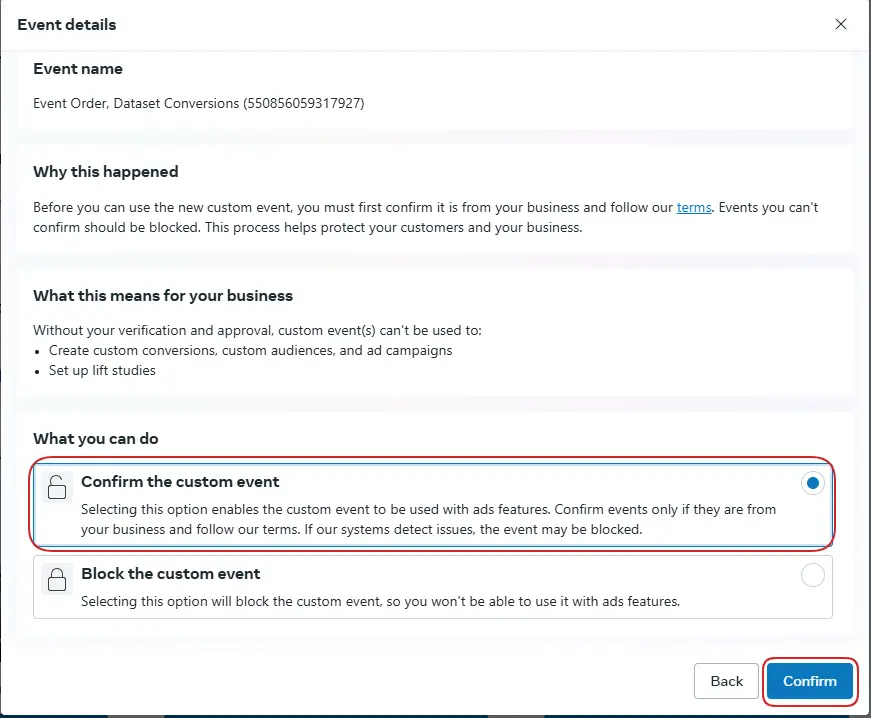
Confirmation of approval completes the setup of the conversion upload.
Setting up Meta Ads campaign tracking
In your etracker account, go to Configuration → Conversion upload

Click on the parameter field to copy the displayed URL parameters.
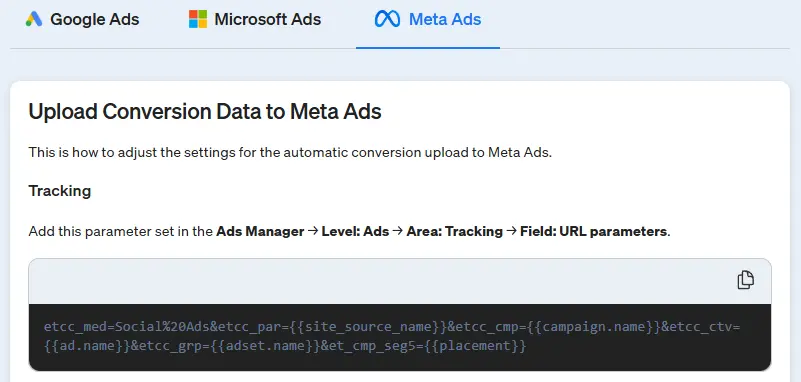
Add this parameter set in the meta ad manager at ad level in the Tracking section in the URL parameter field for all active ads:
By inserting the URL parameters, activate the website events in the Tracking section and select the created data source.
This means that all visits via Meta Ads are recorded in etracker analytics with the associated campaign information and conversions are attributed according to the attribution models.
Setting up the meta conversion tag
The combination of meta tag and conversion upload via etracker analytics requires that the meta tag is controlled via the etracker tag manager.
This ensures that identical conversion actions are not counted twice, but are deduplicated by Meta. etracker automatically generates unique conversion IDs for this purpose.
In order to achieve the deduplication of conversions, the meta conversion tag activated in the etracker tag manager
- are triggered on the same websites as the uploaded etracker conversion and
- contain the same value as the etracker conversion.
The process is illustrated below using the conversion purchase, which is recorded using the etracker store plugin or etracker e-commerce event.
First, set up a trigger that triggers a purchase in the etracker e-commerce event. To do this, go to tag manager → My triggers → Add trigger → etracker events.
Select E-Commerce Event and then Purchase in the dropdown:
Then create a variable for the order value. If you use one of the etracker store plugins or the e-commerce API, all e-commerce events are pushed to the data layer. The data layer can thus be used to transfer the order value in a meta tag. The Datalayer entry for a purchase looks like this:
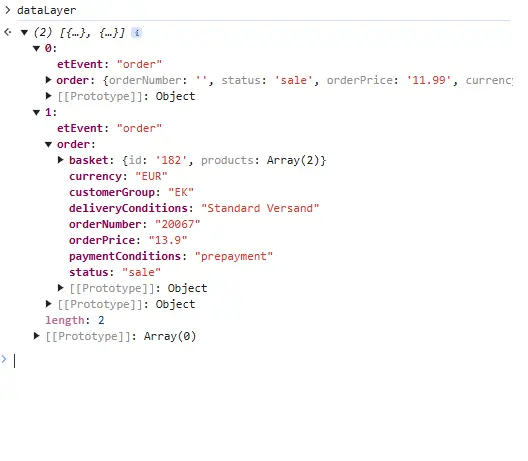
To do this, go to tag manager → My variables → Add variable → Datalayer.
Assign any variable title, e.g. “Order value” as the name of the data layer “dataLayer” and as the name of the data layer variable “order.orderPrice”.
Finally, set up the meta conversion tag and use the previously created variable and trigger. To do this, go to tag manager → My tags → Add tag → Meta Pixel → Conversion Tracking.
Next, enter a free tag title, select the trigger you just created, insert the meta pixel ID described above and select the appropriate meta event (in this case, purchase). If necessary, adjust the currency and change the value to the variable created for the order value.
Using debug mode, you can check the correct transmission on the order confirmation page when executing a test order.