Trigger
Triggers play a crucial role in tag management, as they can be used to configure the conditions under which certain tags are played. Therefore, a link between tag and trigger is always required. With global standard tags, such as the Google Tag, the trigger is automatically defined, as the tag is played with every page view. If the trigger is not clearly defined by the tag, a suitable trigger must be defined and assigned to the tag.
The configuration of triggers in the etracker tag manager is very flexible and can be aligned to specific pages, elements or interactions.
Define trigger
To create a new trigger, select My triggers in the etracker tag manager menu and then click on + Add trigger in the top right-hand corner.
Now select a trigger type from the list:
- Page view
- Element click
- Element visibility
- Datalayer Push (Datalayer events)
- Time per page (time spent on a page)
- Scroll depth
- History Change
- etracker events (already recorded etracker events including e-commerce events and automatic standard events such as downloads, videos viewed, etc.)
- Trigger group (possibility to define several triggers that trigger a tag)
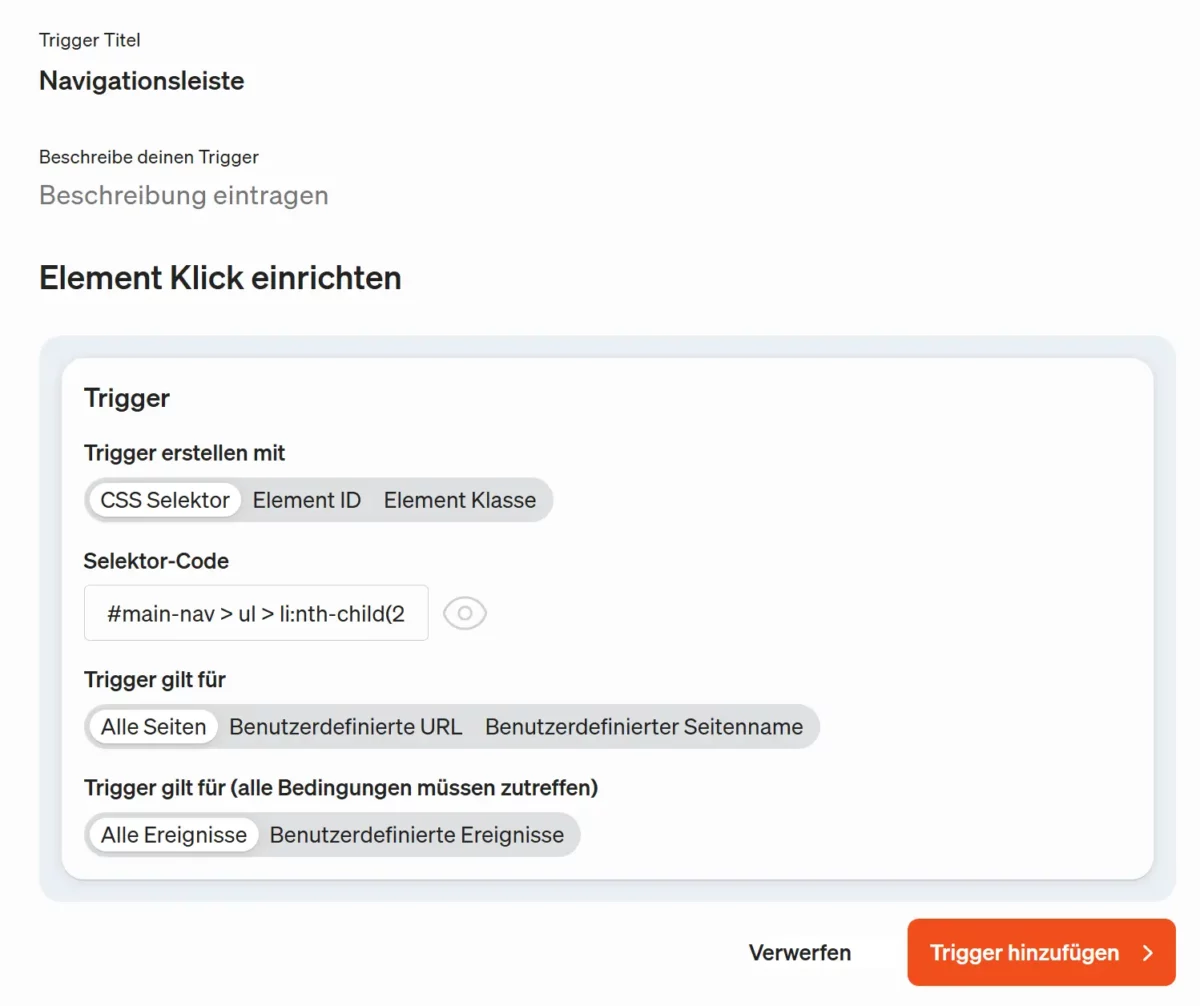
In the next step, you can assign a title to the trigger and define the specific conditions for triggering. The options for the conditions depend on the respective trigger type. If a trigger refers to a specific website element, this can be specified using a CSS selector. Please note the following:
- Since every website is structured differently, the structure of the selector code is also different. etracker can therefore not provide any information on what the code should look like.
- If the standard “CSS selector” button is active, the corresponding value with all selector types (“.”, “#”, “>”,…) must be entered in the “Selector code” field.
- The “Element ID” and “Element class” buttons can be used to set the appropriate selector types (“#” for element ID and “.” for “Element class”). The next time the trigger is opened, the value with characters is then displayed in the field and the button is set to “CSS selector” again.
- To check whether a CSS selector is correct, we recommend testing it in advance in the browser console by using “document.queryselectorAll();”. This allows you to select the relevant elements on the website as a test.
- It can happen that although the selector code has been tested and configured correctly, a click trigger still does not work. One reason for this could be that the corresponding element is overlaid by another element that intercepts the click.
Once you have made all the necessary settings, click on Add trigger.
You are now ready to link a tag to the new trigger. To do this, go to